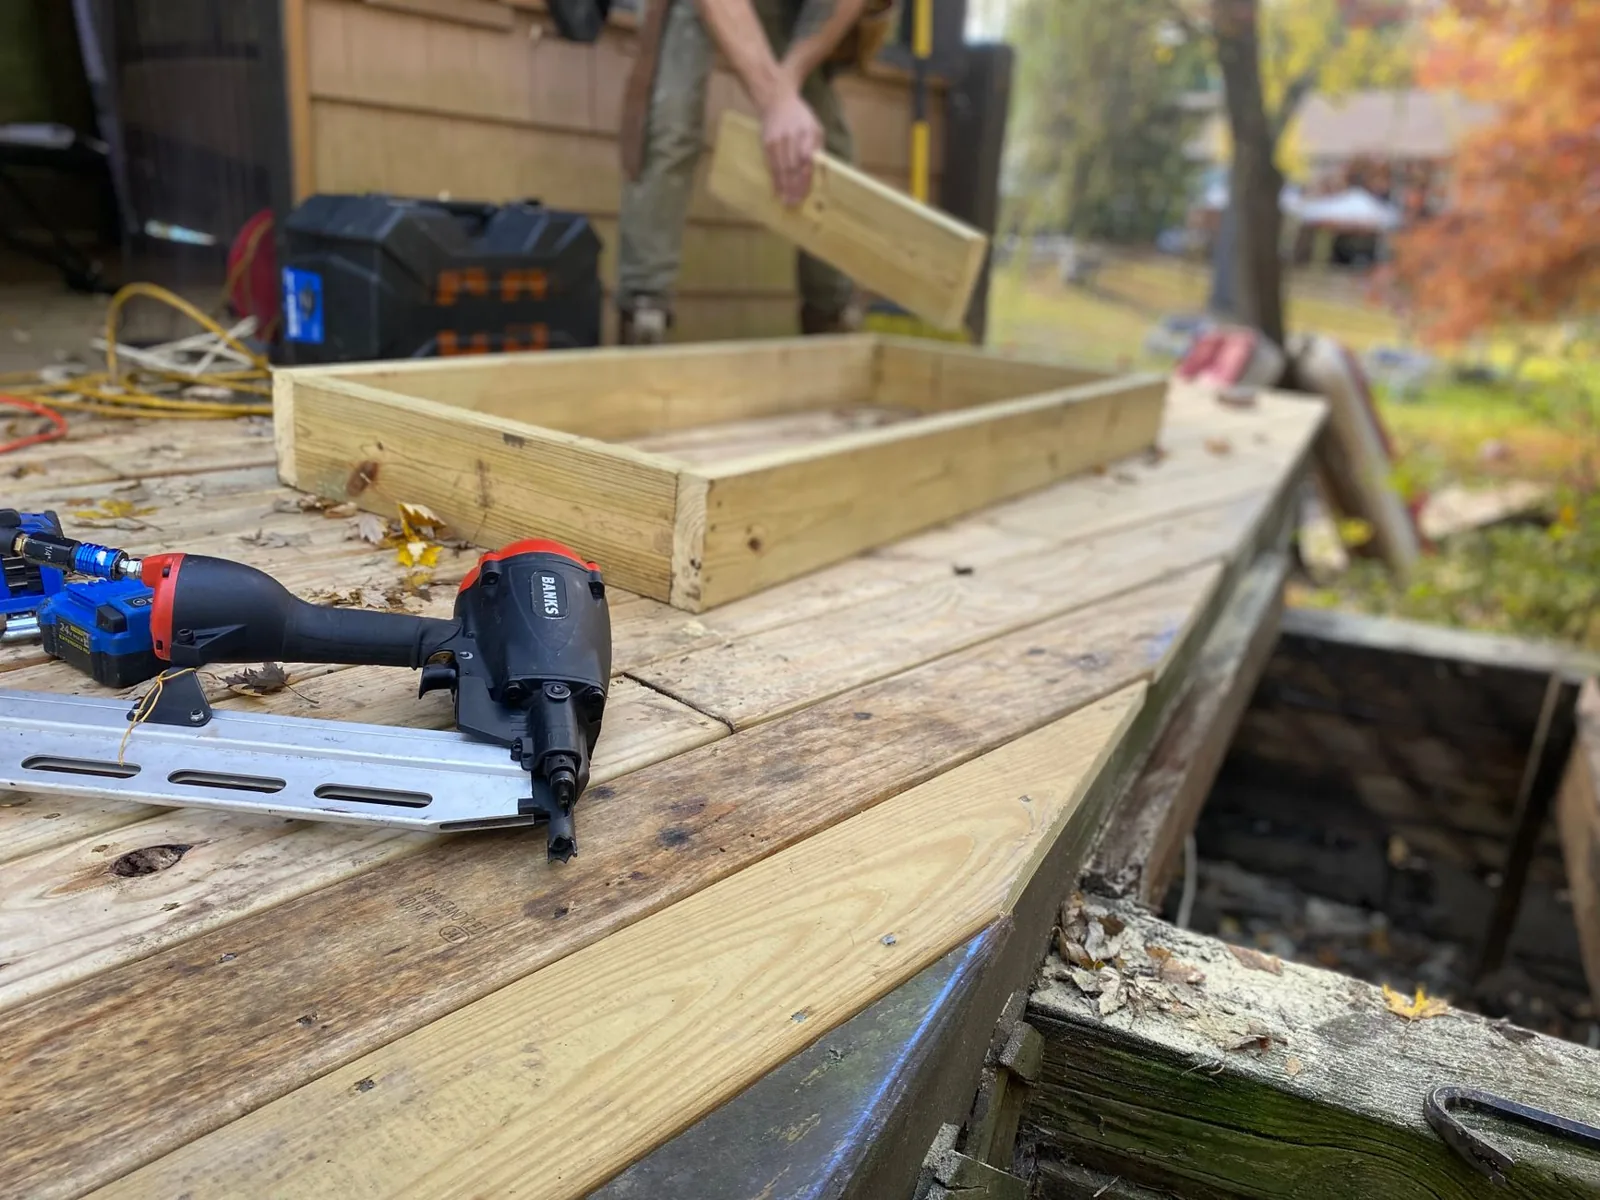
How to Build a Deck on the Ground: A Complete DIY Guide
If you want to know how to build a deck on the ground, you’re in the right place. A ground-level deck — also called a floating deck or freestanding deck — is one of the most approachable projects a homeowner can tackle, because it doesn’t attach to your house and doesn’t require digging deep footings below the frost line.
That said, “on the ground” doesn’t mean “plopped straight on the dirt.” A deck that lasts depends on a level, well-drained base, lumber that stays dry, and framing that’s strong enough to resist years of foot traffic and shifting soil. Get those fundamentals right and a ground-level deck can be built in a weekend or two for a fraction of what an elevated deck costs.
This guide walks through the entire process, from checking local codes to laying the last board, with realistic cost figures and the mistakes that trip up first-timers.
What Is a Ground-Level Deck?
A ground-level deck is a platform that sits low to the ground — usually between 6 and 30 inches above grade — supported by concrete blocks, precast piers, or short posts rather than by a ledger board bolted to your home. Because it’s freestanding, it’s treated as a simpler structure in most jurisdictions, and it often sidesteps the deep-footing requirements that apply to attached or elevated decks.
The trade-off is moisture. Lumber sitting close to soil wicks up water, which leads to rot and insect damage far faster than on a deck with open airflow underneath. The whole point of the build process below is to create a stable base and enough clearance so water drains away instead of pooling around your joists.
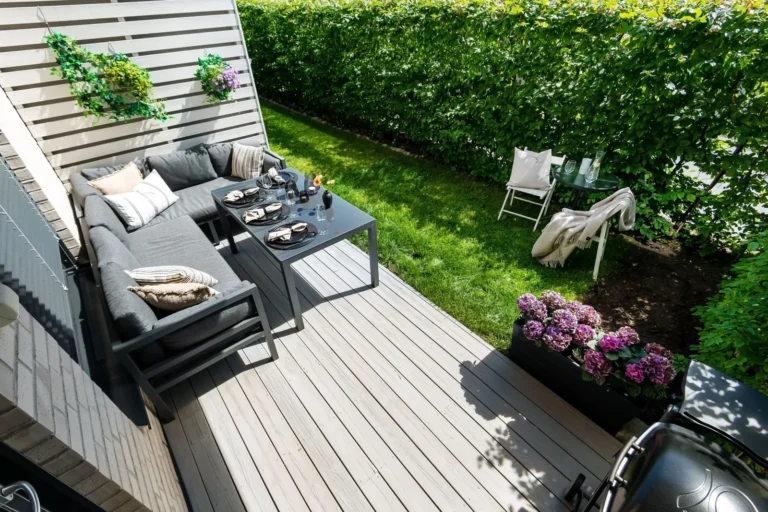
Common uses include a low patio-style lounging area, a platform for a hot tub or outdoor kitchen (with beefed-up framing), or a smooth transition from a back door onto the lawn.
Tools and Materials You’ll Need
Before you start, gather the full list. Nothing stalls a deck project like a second trip to the lumber yard mid-framing.
Tools
- Circular saw or miter saw
- Cordless drill and impact driver
- 4-foot level and a long straightedge
- Tape measure, framing square, and carpenter’s pencil
- Shovel, rake, and a hand tamper or plate compactor
- String line and wooden stakes
- Safety glasses and work gloves
Materials
- Pressure-treated 2×6 or 2×8 lumber for joists and beams
- 5/4 decking boards or composite decking
- Concrete deck blocks or precast concrete piers
- Landscape fabric and 3/4-inch crushed gravel
- Galvanized or coated deck screws and joist hangers
- Exterior wood stain or sealer
For most projects, pressure-treated southern yellow pine is the budget-friendly workhorse. If you want less maintenance down the road, composite decking costs more up front but never needs staining — we cover both in the cost section below.
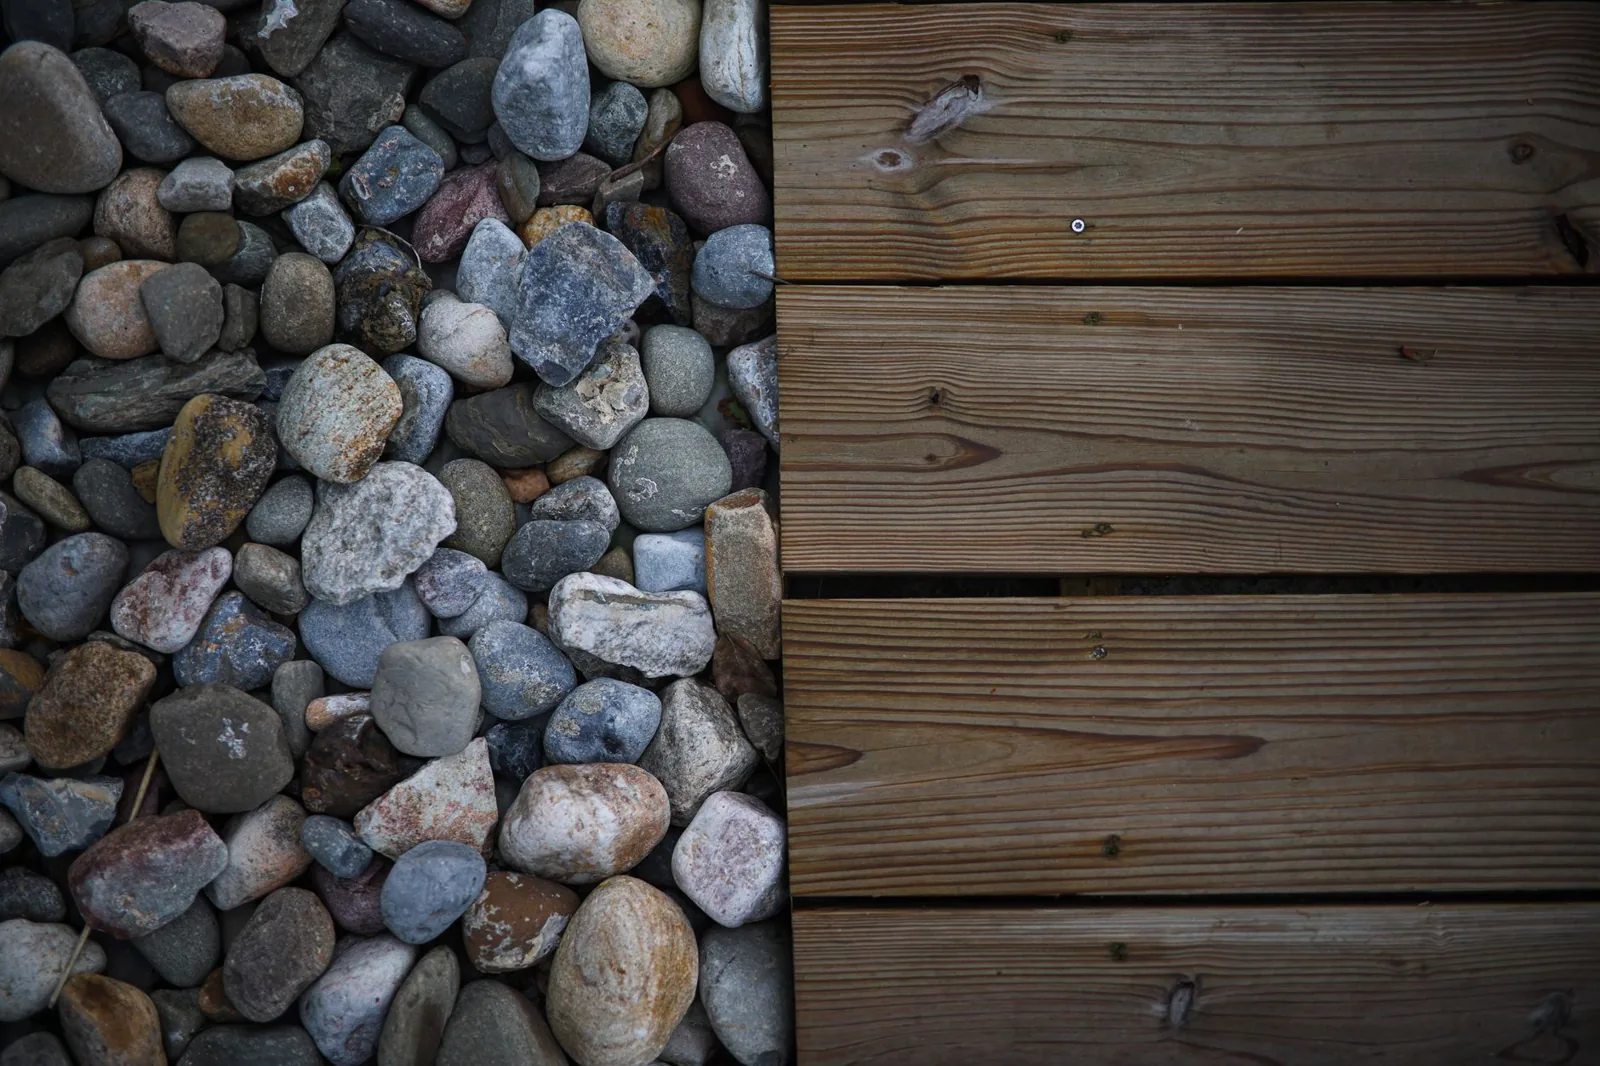
Photo by Dimitar Dimitrov via Pexels
How to Build a Deck on the Ground, Step by Step
The sequence matters. Prep the base before you buy a single board if you can, because the dimensions of your finished deck determine exactly how much lumber and gravel you need.
Step 1: Check Codes and Mark the Site
Call your local building department first. Most areas allow a ground-level deck under 30 inches tall and under a certain square footage without a permit, but the threshold varies — some towns require a permit for any deck larger than 200 square feet, and others have setback rules for how close you can build to a property line.
Once you’re cleared, stake out the footprint and run a string line to square the corners. Measure the diagonals; if they’re equal, the corners are square. A 12-foot-by-12-foot deck is a common starting size, but size the platform to fit your space rather than forcing a square.
Step 2: Prep the Ground
Strip the sod and any topsoil inside the footprint, then dig down a few inches to reach firm, undisturbed soil. Slope the finished surface slightly away from the house — a fall of about 1/4 inch per foot — so water drains rather than pooling under the frame.
Lay landscape fabric across the entire excavated area, then spread 3 to 4 inches of crushed gravel and compact it. The gravel does two jobs: it levels the base and keeps ground moisture from sitting against the bottom of your frame. Skip this step and your deck will be spongy and rot-prone within a few seasons.
Step 3: Set the Foundation Blocks
Place concrete deck blocks on the compacted gravel in a grid, spaced so no joist spans more than about 4 feet unsupported. Typical spacing is 4 feet on center in both directions for a 2×6 frame, and up to 6 feet if you’re using 2×8 joists and double beams.
Use your 4-foot level and a straightedge to shim each block until the tops are level with one another. This is the single most tedious part of the job, and the most important — a deck built on unlevel blocks will never sit flat, no matter how carefully you cut the framing.
Step 4: Build the Frame
Assemble the frame on the blocks: outer rim joists first, then interior joists spaced 16 inches on center, secured with joist hangers and coated structural screws. Where joists sit over blocks, add a doubled beam or place the block directly under a joist so the load transfers straight down.
Because the deck floats on the ground, you don’t need diagonal bracing the way you would on an elevated deck, but the perimeter must be square and the top edge dead flat. Check both before you start fastening decking.
Step 5: Lay the Decking Boards
Start at one edge and work across, leaving a consistent 1/8-inch gap between boards so water can drain and the wood can expand. For pressure-treated decking, use two screws per joist; for composite, follow the manufacturer’s fastener spacing, which often calls for hidden clips.
Leave a 1/4-inch to 3/8-inch gap where decking meets the house or any fixed object. If a board has a slight crown, install it crown-side up so it flattens as it dries rather than cupping and holding water.
Step 6: Finish and Protect the Deck
For pressure-treated lumber, let it dry for several weeks before staining or sealing — new treated wood is too wet to hold finish. Then apply an exterior stain with UV protection, or a clear water-repellent sealer if you want the natural wood look. Composite boards need only a wash with soap and water.
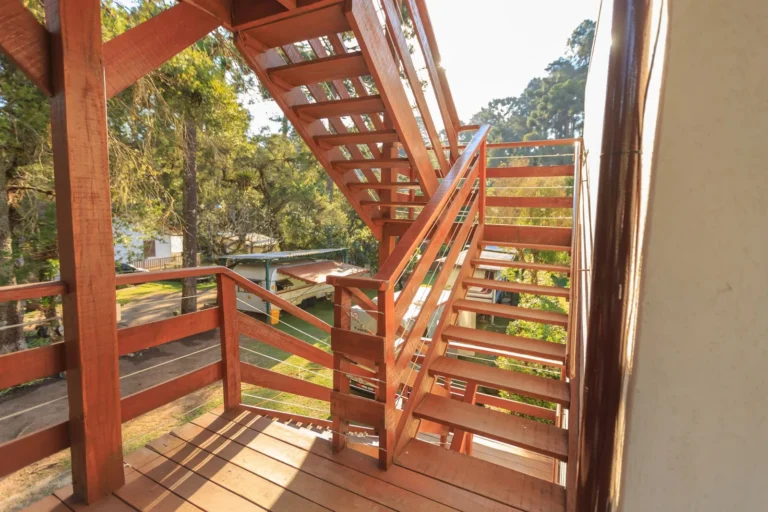
If your deck is more than a few inches off the ground and has steps, this is the moment to think about railing — not just for safety but for looks. See our deck railing ideas for options that suit a low-profile platform.
Photo by Igor Starkov via Pexels
Ground-Level Deck Costs
A ground-level deck is the cheapest deck you can build, mostly because it skips footings, posts, and a railing. Expect to pay $10 to $20 per square foot in materials for a DIY pressure-treated build, and $25 to $40 per square foot if you hire a contractor.
| Feature | DIY (Pressure-Treated) | Pro Install (Pressure-Treated) | Composite (DIY) |
|---|---|---|---|
| Cost per sq ft | $10–$20 | $25–$40 | $20–$35 |
| Labor | Your time | Included | Your time |
| Lifespan | 15–25 years | 15–25 years | 25–30+ years |
| Annual maintenance | Stain every 2–3 years | Stain every 2–3 years | Wash only |
A 12-by-12-foot (144 sq ft) DIY deck therefore lands around $1,500 to $2,900 in materials, depending on whether you choose treated lumber or composite. The same deck professionally installed typically runs $3,600 to $5,800. Add gravel, landscape fabric, and fasteners to the materials number — those “small” items routinely add $200 to $400 to the total.
For comparison, an elevated or attached deck often runs $30 to $60 per square foot installed, so going ground-level can cut your budget roughly in half while giving you a similar amount of usable outdoor space. If you’re weighing a platform against a pergola or other overhead structure, our pergola cost per square foot breakdown lays out where the money goes on each.
Common Mistakes to Avoid
- Setting blocks on soft soil. Blocks placed on uncompacted dirt sink unevenly, twisting the frame. Always excavate to firm soil and compact a gravel base first.
- No drainage slope. A deck that slopes back toward the house funnels water to the foundation. Slope the base and the finished surface away from the structure.
- Skipping the weed barrier. Grass and weeds will push up through the gaps and hold moisture against the joists.
- Insufficient ground clearance. Keep joists at least a few inches above the gravel. Direct soil contact is how ground-level decks rot out in five years.
- Crowning boards the wrong way. Install crown-side up, or water pools in the cupped surface.
- Using the wrong fasteners. Interior screws rust and bleed streaks into the wood. Use hot-dipped galvanized or coated deck screws rated for pressure-treated lumber.
Get these details right and your deck will sit flat and dry for decades. If you like the low, uncluttered look of a platform without a tall frame, our floating deck ideas gallery shows how different materials and layouts change the feel of a space.
Frequently Asked Questions
Do I need a permit to build a deck on the ground?
Often not, but it depends on your municipality. Most jurisdictions exempt freestanding decks under 30 inches tall and below a certain square footage — commonly 200 square feet. Some also require a permit if the deck will support a hot tub. Call your building department before you buy materials.
How high off the ground should a ground-level deck be?
The decking surface typically sits 6 to 30 inches above grade. The key is keeping the bottom of the joists off the soil and providing enough airflow underneath so moisture evaporates. Less than 6 inches of clearance and you’re inviting rot.
Can I build a ground-level deck directly on the grass?
You can build over grass, but not on it. Strip the sod, add landscape fabric and a compacted gravel base, and set the frame on concrete blocks. Laying lumber directly on grass or soil will rot it within a few seasons.
What is the best wood for a ground-level deck?
Pressure-treated southern yellow pine is the most common and affordable choice. Cedar and redwood look better and resist rot naturally but cost more. Composite decking is the lowest-maintenance option and holds up longest, though it costs more up front and can get hot underfoot in full sun.
How long does a ground-level deck last?
A properly built pressure-treated ground-level deck lasts 15 to 25 years with regular cleaning and staining. Composite decks typically last 25 to 30 years or more. Poor drainage and ground contact are the two things that shorten that lifespan the fastest.
For a detailed framing walkthrough, Family Handyman’s ground-level deck guide covers joist spacing and footings.
The Bottom Line
Learning how to build a deck on the ground is one of the best value-for-effort projects in home improvement. It’s the cheapest deck you can build, it’s forgiving for beginners, and it doesn’t demand the deep footings or ledger attachment that make elevated decks intimidating.
The success of the whole thing comes down to what’s underneath: a level, well-drained gravel base and concrete blocks that are perfectly aligned. Nail the foundation, keep your lumber dry, and you’ll end up with a flat, solid platform that adds real usable square footage to your yard for less than the cost of a modest patio.
Ready to get started? Mark your footprint, check with your local building department, and pick up the materials — most homeowners can frame and deck a 12-by-12 platform in a single weekend. For more ideas on finishes, steps, and upgrades, explore our guides on deck steps and stairs ideas and deck railing ideas before you break ground.