Floating Deck Ideas: 10 Ground-Level Designs That Skip the Footings
A floating deck is the fastest way to add usable outdoor square footage without hiring an engineer or digging four-foot holes. Unlike an attached deck, it sits on the ground or on small concrete blocks, so it rarely needs a permit and costs a fraction of a raised structure. If you’re hunting for floating deck ideas that fit a flat backyard, a sloped corner, or a tight budget, this guide covers the layouts, materials, and costs that actually work.
Homeowners like floating decks because they’re forgiving. You can build one in a weekend with basic tools, and because the structure is independent of the house, you won’t damage your foundation if the ground shifts. Below, we’ll walk through the designs worth copying, what they cost, and the finishing touches that make a cheap platform look like it was professionally designed.
What Is a Floating Deck, Exactly?
A floating deck is a ground-level platform that rests on the soil or on precast concrete blocks instead of being bolted to your house or poured into deep footings. The name has nothing to do with being suspended in the air. It “floats” because the structure is independent — it isn’t attached to a ledger board on the home, and it can move slightly with the ground without cracking anything.
Because it’s free-standing and low to the ground, usually 8 to 30 inches tall, most floating decks fall below the height and size thresholds that trigger building permits in the US and Canada. That’s the core appeal: you can frame it yourself, skip the inspector in many municipalities, and still end up with a level, solid surface for furniture, a grill, or a fire pit.
Floating Deck Ideas by Layout and Shape
The shape of your deck should follow the shape of your yard and how you’ll use the space. Start with one of these proven layouts.
Square Platform
A simple square or rectangle, typically 8 x 10, 10 x 12, or 12 x 16 feet, is the workhorse. It’s the cheapest layout to frame because every joist is a straight cut and there’s almost no waste. Put it in a flat, sunny spot and it becomes a dining area or a spot for a couple of Adirondack chairs.
L-Shaped Wrap
An L-shaped deck hugs two sides of a patio or the corner of a house, creating two distinct zones — one for cooking, one for sitting — without the cost of a full wrap-around. The extra corner cuts add a few hours of framing, but the payoff is a layout that feels intentional rather than plopped down.
Stepped Tiers
If your yard has a mild slope, build two or three low tiers that step down the grade. Each tier is its own small floating deck set on blocks of different heights. Stepping the platform is far cheaper than building a single raised deck with tall posts and a staircase, and it turns an awkward hill into usable levels.
Curved Edge
A curved front edge is the easiest way to make a budget deck look custom. You’ll bend a piece of composite or flexible trim along the rim and trim the deck boards to follow it. It adds a day of fiddly work but no meaningful material cost.
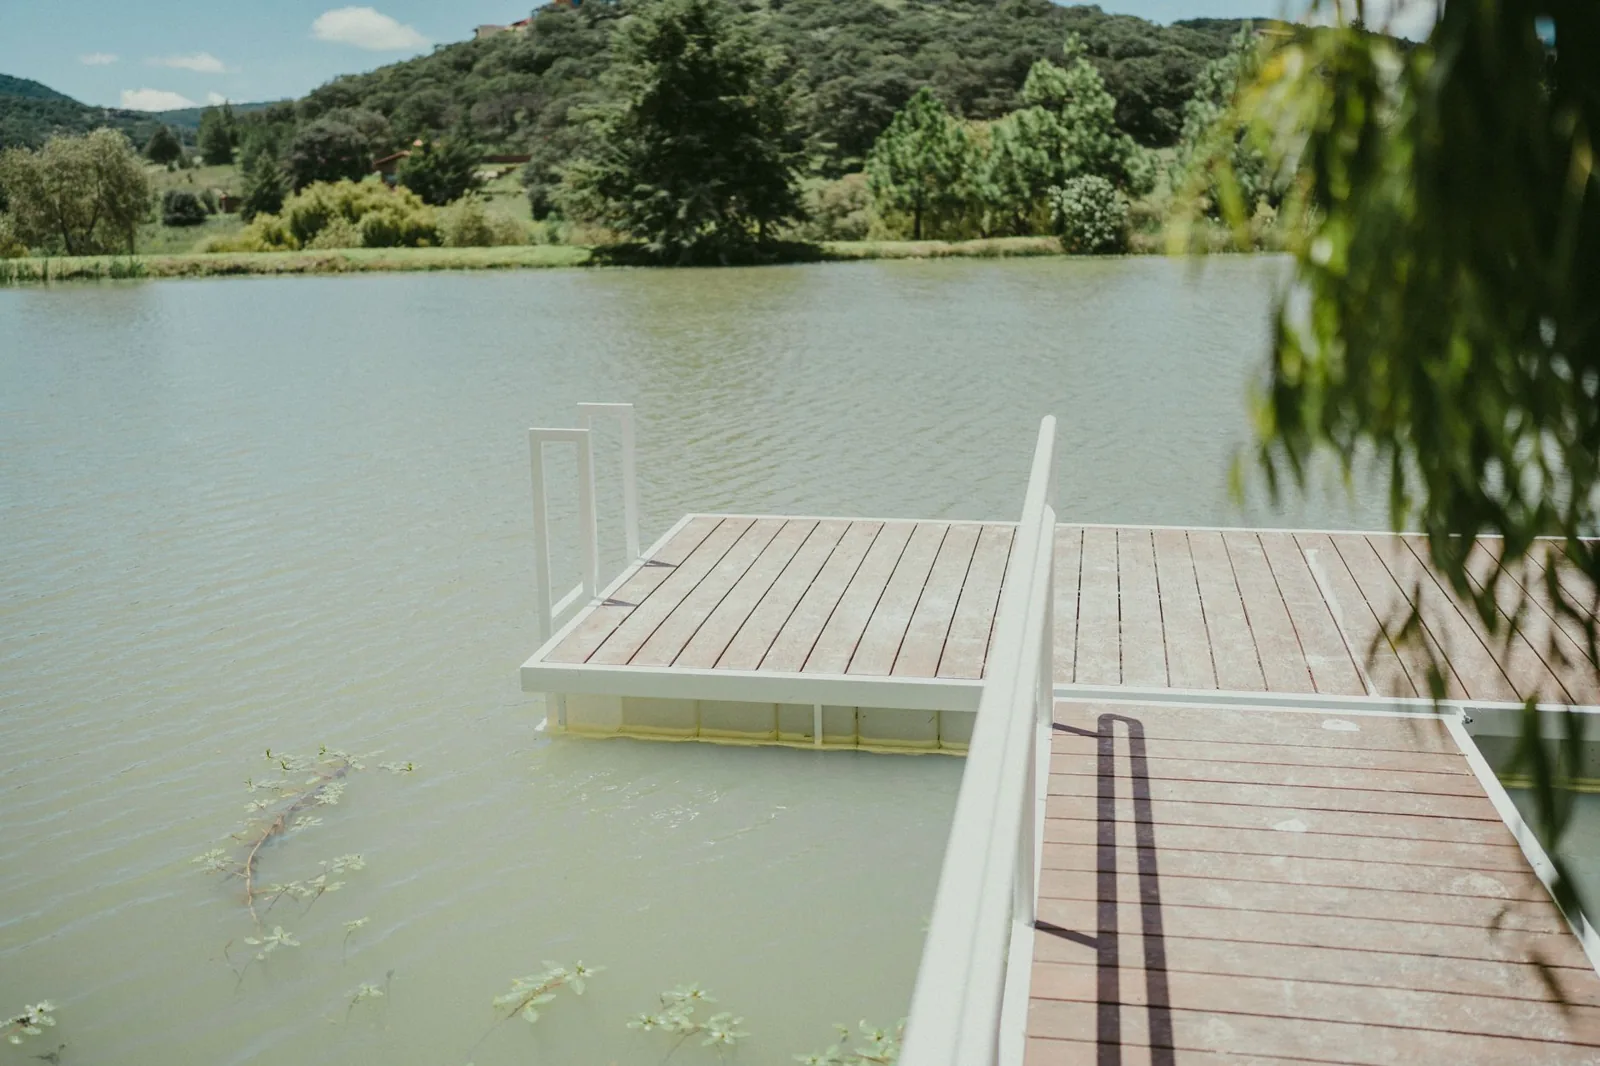
Photo by Amar Preciado via Pexels
Floating Deck Ideas for Materials and Style
What you build the deck out of drives both the look and the long-term maintenance. Here’s how the main options stack up.
Pressure-Treated Pine
The default for DIY builds. A 12 x 12 deck in pressure-treated pine costs roughly $700 to $900 in lumber, and it’ll last 15 to 20 years if you restain it every couple of years. It’s soft, so screws drive easily and mistakes are cheap to fix.
Cedar and Redwood
Natural cedar and redwood resist rot and insects without the chemical treatment, and they hold stain beautifully. Expect to pay 60 to 80 percent more than pressure-treated pine. These are the right choice when the deck is highly visible and you want a warm, premium look.
Composite
Composite boards — brands like Trex, TimberTech, and Fiberon — cost more up front but never need sanding or staining. You’ll pay $4 to $7 per square foot for the boards alone, versus $1.50 to $3 for pressure-treated pine. The tradeoff is nearly zero upkeep for 25 years or more.
Tropical Hardwood
Ipe and similar tropical hardwoods are the luxury option, running $8 to $12 per square foot for the boards. They’re dense, beautiful, and last decades, but they’re hard on saw blades and drill bits, so factor in extra bits and slower progress.
| Feature | Pressure-Treated Pine | Cedar | Composite | Ipe Hardwood |
|---|---|---|---|---|
| Board cost / sq ft | $1.50–$3 | $4–$7 | $4–$7 | $8–$12 |
| Lifespan | 15–20 yrs | 20–25 yrs | 25+ yrs | 30+ yrs |
| Maintenance | Stain every 2 yrs | Stain every 2–3 yrs | Occasional wash | Oil annually |
| DIY friendliness | Excellent | Good | Good | Hard on tools |
| Best for | Budget builds | Visible patios | Busy families | Statement decks |
How Much Does a Floating Deck Cost?
A DIY floating deck in pressure-treated pine typically runs $10 to $15 per square foot, all materials in. A professional build lands closer to $30 to $45 per square foot once you add labor, fasteners, and delivery. That means a 12 x 12 (144-square-foot) deck costs roughly $1,200 to $2,000 if you build it yourself, or $4,000 to $6,500 if you hire it out.
The single biggest variable is material choice. Switching from pine to composite can double the material bill, while choosing precast deck blocks instead of poured footings cuts the concrete cost to almost nothing. If you already own a circular saw, drill, and level, your only major tool outlay might be a rented post-hole digger or a cheap laser level.
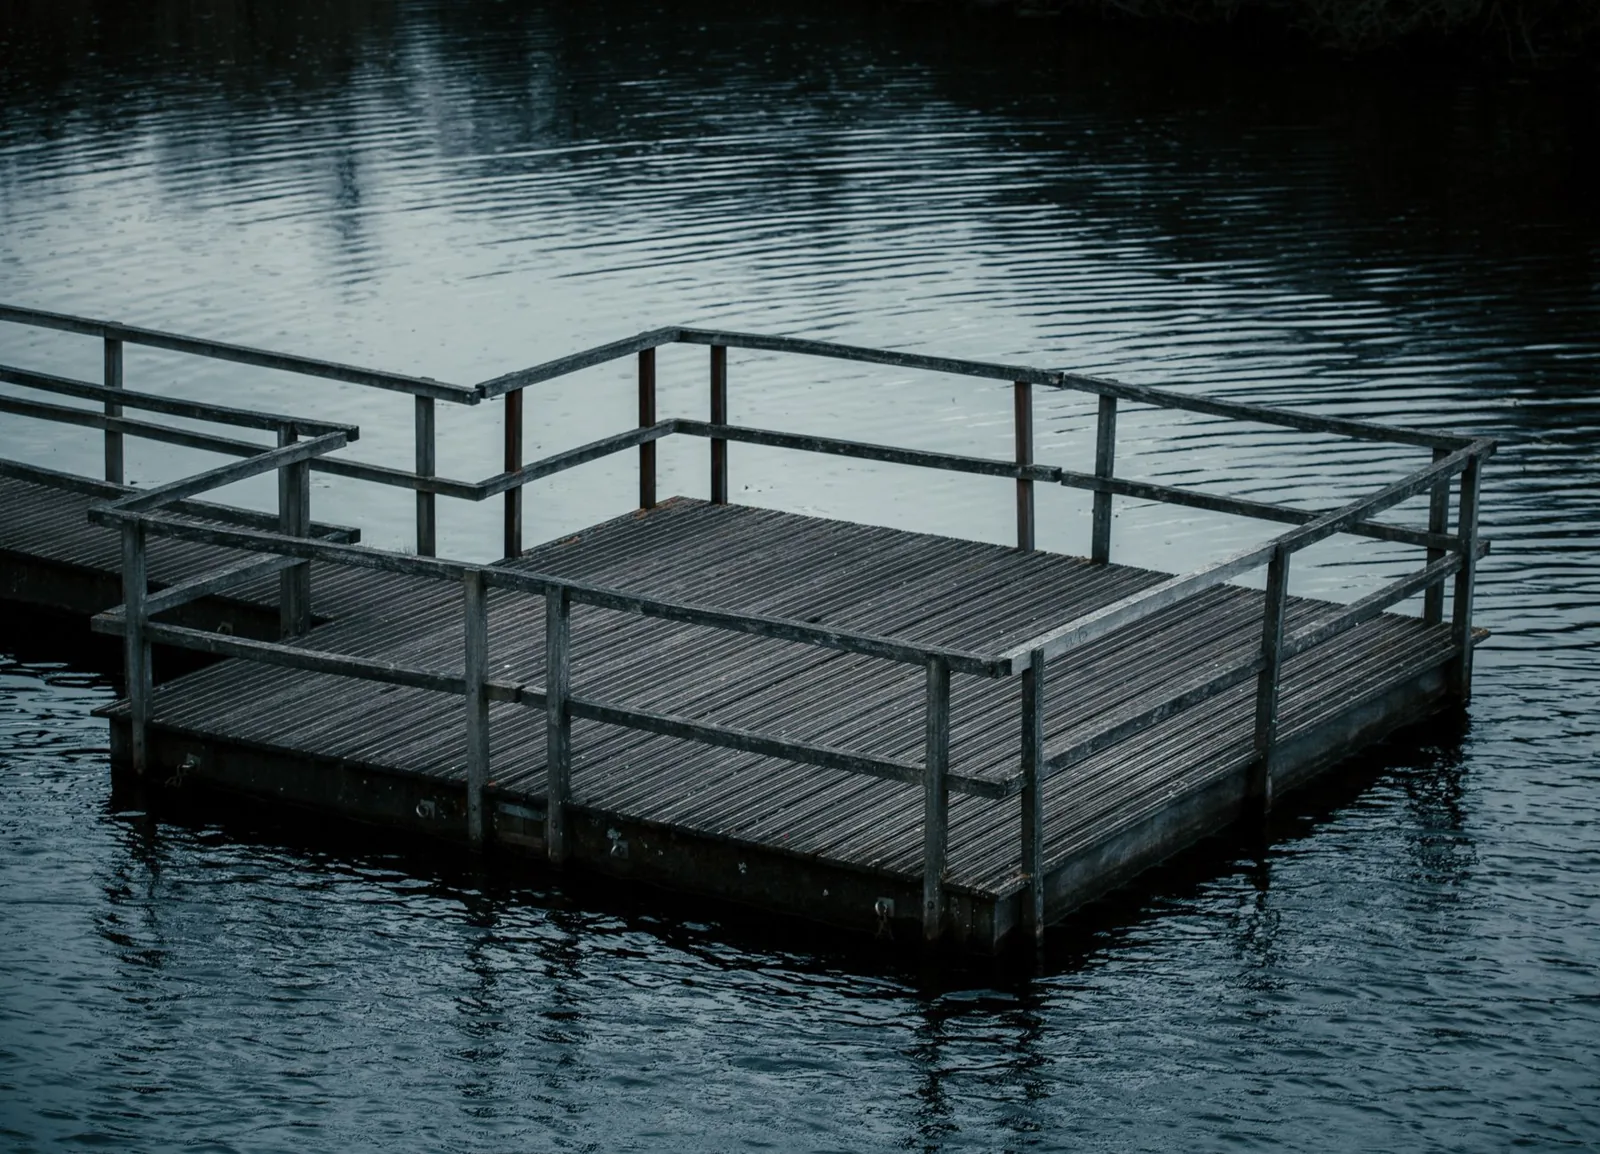
Photo by Dylan Leagh via Pexels
Foundation Options for a Ground-Level Deck
The foundation is where floating deck ideas differ most from a conventional attached deck. You have three practical choices.
- Precast concrete deck blocks: The fastest and most common option. Each block costs $5 to $10, sits right on leveled ground or gravel, and has a notch for your joist. No concrete mixing, no digging below frost line.
- Concrete pavers: For very low decks, a grid of 12 x 12 pavers on compacted gravel works. It’s cheap, but you’ll spend more time leveling, and pavers can settle over wet winters.
- Poured concrete footings: Only worth it if you’re building higher than about 30 inches or your soil is loose. It’s the most permanent method but defeats the purpose of a quick, permit-free build for most people.
For a full step-by-step on getting the frame square and level, see our guide on how to build a deck on the ground.
How to Finish a Floating Deck
The platform is only half the job. These touches are what separate a polished deck from a pile of lumber in the yard.
Edging and Skirting
A board or two of skirting around the perimeter hides the blocks and gives the deck a finished, furniture-like look. Composite skirting is the easiest to install and never rots where it touches soil.
Railings
Ground-level decks under 30 inches usually don’t require a railing by code, which is a big cost saver. If you want one for looks or safety — say, around a raised tier or near a drop-off — browse deck railing ideas for options that won’t block the view.
Steps and Access
Even a low deck benefits from a defined entry point. A wide step or two makes the transition feel deliberate and keeps dirt from tracking straight onto the surface. Check out deck steps and stairs ideas for designs that match your material.
Lighting and Plants
Low-voltage path lights around the edge and a few potted plants at the corners make the deck usable after dark and soften the hard edges. Budget $150 to $300 for a basic solar or low-voltage kit.
Permit and Code Considerations
The rules vary by municipality, but two numbers decide most cases: height and size. In many US jurisdictions, a structure under 30 inches tall and under 200 square feet that isn’t attached to the house needs no permit at all. Cross either threshold and you’ll likely need to submit plans and schedule an inspection.
Setback rules matter too. Many towns require any structure to sit 3 to 5 feet from the property line, even when no permit is needed. Call your local building department before you buy lumber — a five-minute phone call is cheaper than tearing a deck out. The staff at This Old House and Family Handyman both recommend confirming setbacks and height limits first, because the requirements genuinely differ from one town to the next.
Frequently Asked Questions
Does a floating deck need a permit?
Usually not, provided it’s under about 30 inches high, under roughly 200 square feet, and not attached to the house. Confirm the exact limits with your local building department, since setback rules still apply even when a permit isn’t required.
How long does a floating deck last?
A pressure-treated pine floating deck lasts 15 to 20 years with occasional restaining. Composite and cedar builds commonly last 25 years or more, and a well-drained hardwood deck can outlast the house.
Can I build a floating deck on grass?
Yes, but remove the sod and lay a few inches of compacted gravel first. Building directly on grass causes the boards to trap moisture, and the soil will settle unevenly. Gravel and a weed barrier also stop plants from pushing up between the boards.
How high can a floating deck be?
Most floating decks stay under 30 inches. Above that height, you’re entering attached-deck territory where posts, diagonal bracing, and a permit become necessary. For ground-level builds, 8 to 30 inches is the sweet spot.
Is a floating deck cheaper than an attached deck?
Almost always. You skip the ledger board, the deep footings, the taller posts, and often the permit and inspection fees. A DIY floating deck can cost half to a third of a comparable attached deck.
The Bottom Line
Floating deck ideas come down to one smart trade: you give up height to gain speed, simplicity, and savings. Because the platform rests on blocks instead of footings, most homeowners can frame it themselves in a weekend, avoid a permit, and keep the total under $2,000 for a typical 12 x 12 build in pressure-treated pine.
Pick a layout that fits your yard, choose a material that matches how much maintenance you’ll actually do, and spend the money you save on the finishing touches — skirting, lighting, and a defined set of steps. Get the foundation level and the setbacks checked, and you’ll have a solid outdoor room that outlasts most raised decks at a fraction of the cost.