
How to Level a Concrete Patio
A patio that pools water after every rain, catches the leg of your patio table, or sends the grill rolling toward the garden isn’t just an annoyance — it’s a trip hazard and, over time, a bigger structural problem. The good news is that you rarely have to live with a sloped or sunken slab, and you rarely have to tear the whole thing out to fix it. Learning how to level a concrete patio usually comes down to picking one of three methods — mudjacking, polyurethane foam injection, or a self-leveling overlay — and matching it to how far the slab has actually dropped.
Concrete is strong in compression but surprisingly willing to move when the ground beneath it shifts. Once you know why a slab sank, what it costs to correct, and how the repair actually works, you can make a decision without a contractor steering you toward the most expensive option by default. This guide walks through each method, real square-foot prices, and the step-by-step process for the most common DIY fix.
Why a Concrete Patio Sinks in the First Place
Before you pick a repair, it helps to know what moved the slab, because the fix is only as good as the cause it addresses. A patio that sank because of one washed-out pocket of soil will respond beautifully to leveling. A patio that sank because the entire base was poorly compacted will likely settle again.
The most common causes are:
- Poorly compacted subgrade. If the builder laid the slab over loose fill or backfill that was never mechanically tamped, the soil compresses under the weight and the slab follows it down.
- Water erosion. Downspouts dumping against the slab edge, poor grading, or a leaking irrigation line washes soil out from underneath, leaving a void the concrete sinks into.
- Expansive or clay soil. Soil that swells when wet and shrinks when dry can heave one corner up and drop another seasonally.
- Tree roots and decay. Roots growing under a slab can lift it, while a decaying stump below grade leaves a soft pocket that settles.
- Freeze-thaw cycles. In colder climates, water in the soil freezes, expands, and pushes the slab, then leaves gaps when it thaws.
The fix that lasts is the one that also removes the trigger — extend that downspout, regrade the soil so water runs away from the patio, and repair leaks before you level anything.
How to Level a Concrete Patio: Your Three Options
There are three realistic ways to bring a sunken slab back to level, and they cover very different situations. Choosing wrong is the single biggest source of wasted money on this project.
- Mudjacking (slabjacking). A contractor drills small holes through the slab and pumps a slurry — usually a mix of cement, sand, and water — underneath under pressure. The slurry fills the void and hydraulically lifts the slab back into place. It’s the cheapest pro repair, works well for slabs that have dropped 1 to 4 inches, and the patch holes are easy to blend. The downsides: the slurry adds weight, and it needs roughly a day or two to cure before heavy use.
- Polyurethane foam injection. The same idea, but a lightweight expanding foam is injected instead of slurry. Foam is stronger per pound, sets in about 15 to 30 minutes, and the smaller injection holes are nearly invisible. It costs more than mudjacking but is often the better call for patios, where the slab sits close to the house and you don’t want to add hundreds of pounds of weight to soil that already failed once.
- Self-leveling overlay. When the slab is structurally sound but just slightly out of level — think 1 inch or less of slope, or a surface that’s spalled and uneven — you pour a self-leveling underlayment over the top. This is the most DIY-friendly option and doubles as a resurfacing job, but it raises the surface height, so it only works if the raised edge won’t interfere with door thresholds or drains.
If the slab is cracked clean through and the two sides have separated vertically, none of these will hold long term — that’s a replacement situation, covered below.
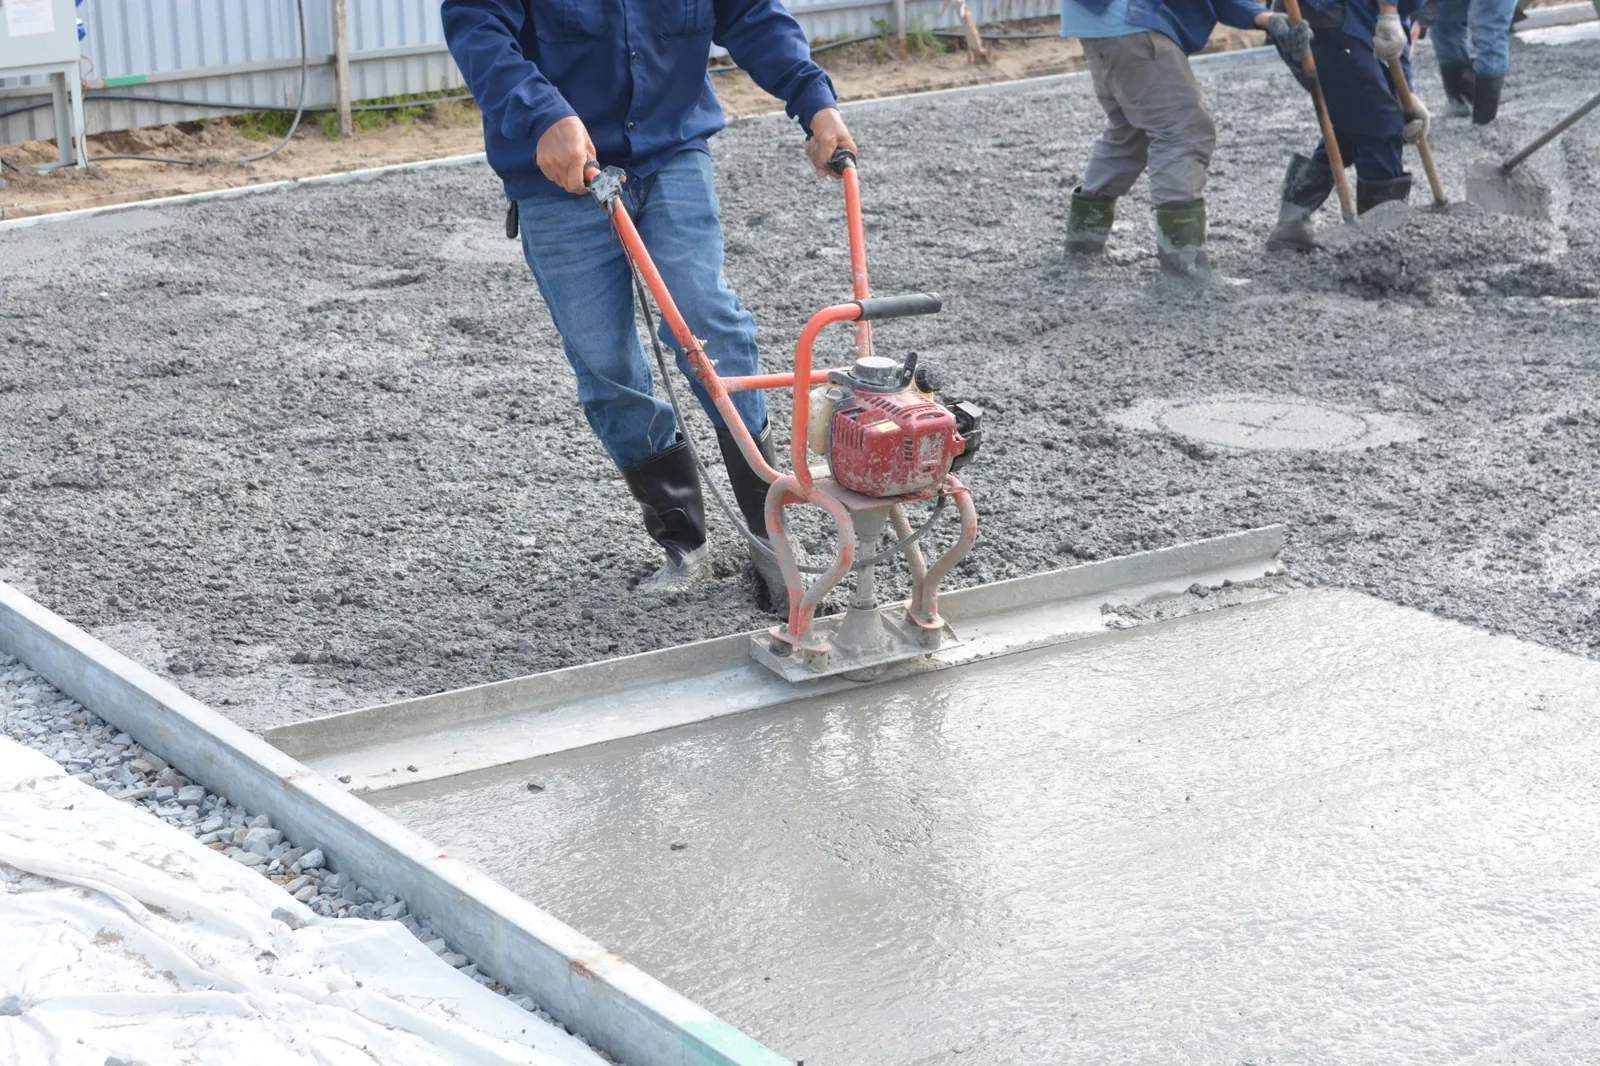
Photo by SÀI GÒN CÔNG TY CP SẢN XUẤT – THƯƠNG MẠI via Pexels
How Much Does It Cost to Level a Concrete Patio?
Prices here assume a typical backyard patio of 300 to 400 square feet. Your numbers will move with your region, but the relationships between methods stay the same.
| Method | Typical Cost Range | Cost per Sq. Ft. | Best For |
|---|---|---|---|
| Mudjacking | $500–$1,800 | $3–$6 | Slabs dropped 1–4 in., budget priority |
| Polyurethane foam | $1,500–$4,000 | $5–$15 | Precise lift, minimal added weight |
| Self-leveling overlay | $800–$1,500 (pro) | $3–$5 | Minor slope, resurfacing in one pass |
| Full replacement | $2,400–$4,800 | $8–$12 | Structural cracks, very old slab |
A few notes that contractors rarely volunteer: mudjacking quotes often come with a minimum charge of $500 to $800 regardless of patio size, because the equipment and crew trip cost the same for a small job. Foam injection carries a similar floor. If your patio is tiny — say 150 square feet — the per-square-foot price looks brutal even though the total check is modest.
For a genuinely minor slope, a DIY self-leveling job can run as little as $150 to $300 in materials. A 50-pound bag of a quality self-leveling underlayment such as Quikrete Self-Leveling Resurfacer or Sakrete Flo-Coat runs $30 to $45 and covers roughly 50 square feet at an eighth-inch thickness. Add a bonding primer, a gauge rake, and a spiked roller, and you’re still well under $500 — provided the slab is sound.
If you’re weighing leveling against simply pouring a new surface finish on top, our breakdown of stamped concrete patio cost is worth a look, and an exposed aggregate concrete cost guide covers the premium replacement route.
Step-by-Step: Leveling a Patio With Self-Leveling Compound
This is the one method most homeowners can safely do themselves, and it’s the right choice when the slab has settled less than an inch but its surface is rough, low in spots, or slightly out of plane. Budget a full weekend, and don’t start if rain is forecast within 24 hours.
What You’ll Need
- Pressure washer or stiff-bristle brush and degreaser
- Concrete bonding primer (e.g., Quikrete Concrete Bonding Adhesive)
- Self-leveling underlayment (two to four 50-lb bags for a typical patio)
- A 5-gallon bucket and a heavy-duty drill with a mixing paddle
- Gauge rake or a long-handled squeegee
- Spiked roller (to pop air bubbles)
- Caulk and backer rod for any cracks
The Process
1. Clean and inspect. Pressure-wash the entire surface and scrub any oil or grease stains, which will prevent the new layer from bonding. Mark the low spots with a straight 2×4 and a level so you know where the pour needs to be thickest.
2. Repair cracks and seal edges. Fill any crack wider than a hairline with a concrete caulk and backer rod so the compound can’t drain down into it. If you have a structural crack, stop here — read our guide on repairing cracks in a concrete driveway to assess whether the slab can even be saved.
3. Prime the slab. Roll or brush on a concrete bonding primer and let it go tacky. This is the step people skip, and it’s the step that causes the new layer to delaminate in sheets two years later. Don’t skip it.
4. Mix in small batches. Self-leveling compound sets fast — you typically have 10 to 20 minutes of working time per batch. Mix only what you and a helper can pour and spread in that window, and mix exactly to the water ratio on the bag. Too much water weakens the cured layer.
5. Pour and spread. Start at the lowest corner and pour the compound in a continuous ribbon, using the gauge rake to guide it into the low spots. The product self-levels, but it needs help reaching every depression, so work it with the squeegee rather than dumping and walking away.
6. Roll out the air. Immediately run a spiked roller through the wet compound to release trapped air bubbles. This is what gives you a smooth, pinhole-free finish.
7. Let it cure. Light foot traffic is usually fine after 4 to 6 hours, but keep furniture and heavy loads off for a full 72 hours, and check the manufacturer’s data sheet — cure times vary by temperature and humidity.
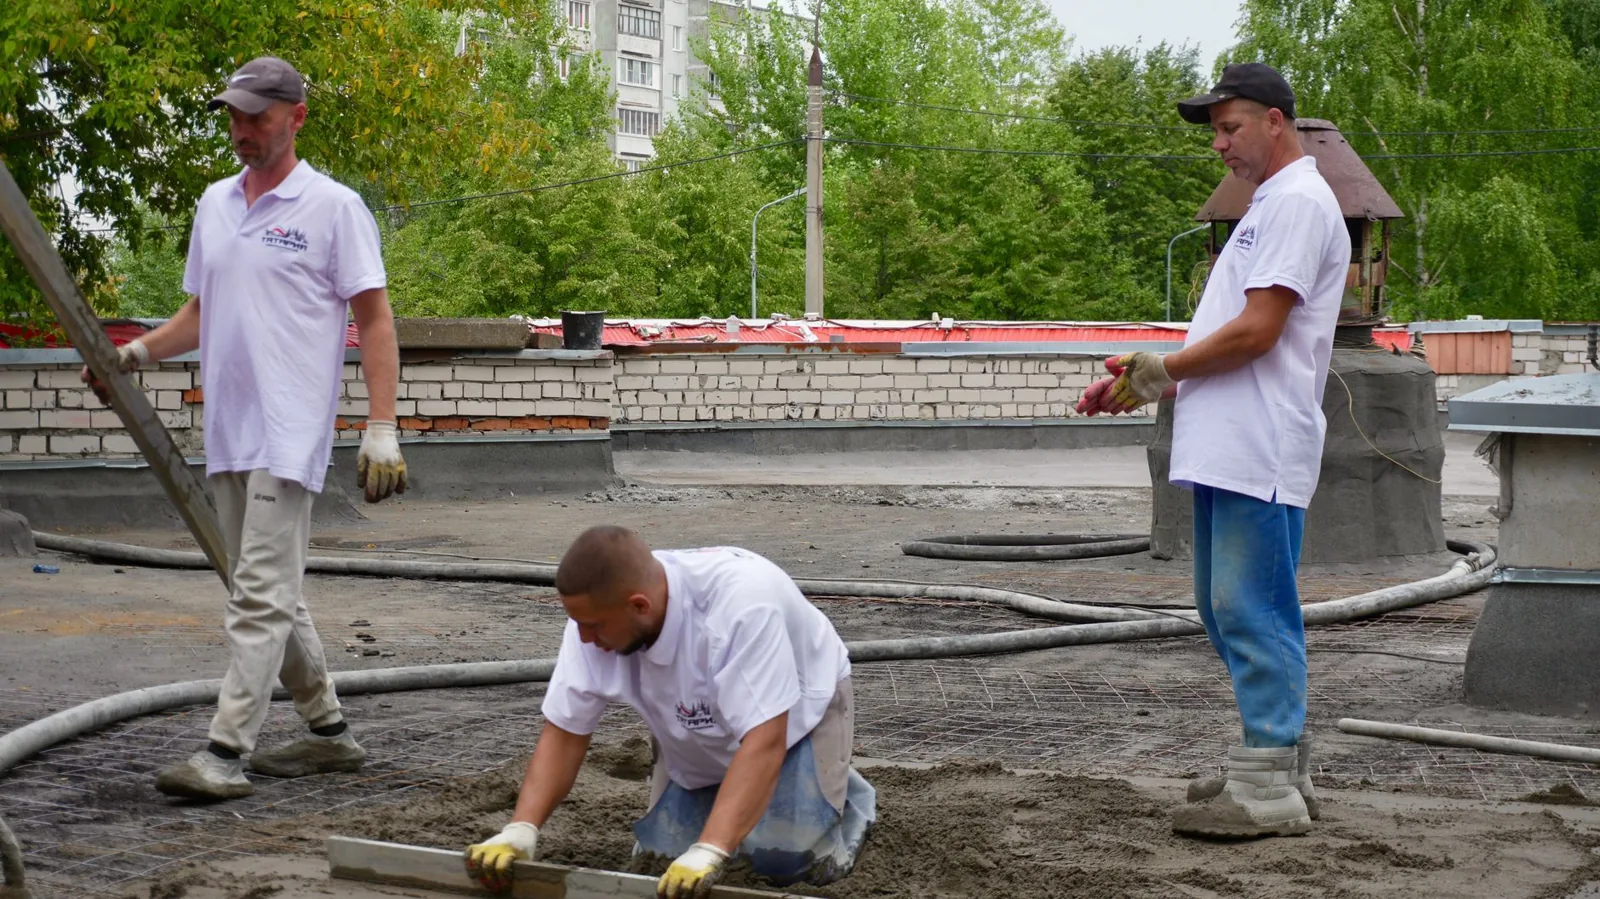
Photo by Bulat843 🌙 via Pexels
When Replacement Beats Repair
Leveling is a repair, not a rebuild, and there are clear signs that a patio is past the point of rescue. Replacing a 400-square-foot slab at $8 to $12 per square foot is a real expense, but it’s money wasted to level a slab that’s going to keep failing.
Replace rather than level when:
- The slab has multiple cracks running edge to edge, and the pieces move independently when you step on them.
- You see vertical displacement — one side of a crack sits noticeably higher than the other, which means the slab has sheared.
- The concrete is spalled across large areas, with the surface chipping and flaking down to the aggregate everywhere, not just in spots.
- The patio has been leveled once before and sank again, which usually means the underlying soil problem was never fixed.
- The slab is 40-plus years old and you want to change the layout, add rebar, or fix drainage properly.
The honest read: leveling buys you years, not decades, on a slab with a marginal base. If the subgrade was never compacted right, the cheapest long-term answer is often to tear out the slab, compact a proper gravel base, and pour fresh — once, correctly. The foam and mudjacking methods simply can’t fix a bad foundation; they can only fill the void that bad foundation already created.
Frequently Asked Questions
Can I level a concrete patio myself?
Yes, if the slope is minor and the slab is structurally sound. A self-leveling overlay is the realistic DIY route — expect $150 to $500 in materials and a weekend of work. Mudjacking and foam injection require specialized pumping equipment that isn’t practical to rent or operate as a first-timer, so those are contractor jobs.
How much does it cost to level a concrete patio?
For a typical 300- to 400-square-foot patio, plan on roughly $500 to $1,800 for mudjacking, $1,500 to $4,000 for polyurethane foam, and $800 to $1,500 for a professional self-leveling overlay. A DIY overlay can run as little as $150 to $300 in materials.
How long does patio leveling last?
A well-executed mudjack or foam lift on stable, drained soil can last 10 to 15 years or more. If the original cause — poor drainage, an unrepaired leak, a decaying root — isn’t addressed, expect the slab to resettle within a few years regardless of method.
Is mudjacking or foam better for a patio?
For most residential patios, foam is the better product: it’s lighter, sets in under an hour, uses smaller injection holes, and won’t add weight to already-compromised soil. Mudjacking wins on price and is still a solid choice for larger drops on a budget. Ask the contractor to justify the method against your slab’s specific drop and soil, not against a generic sales pitch.
Will leveling fix cracks in my patio?
It depends on the crack. Hairline shrinkage cracks can be filled as part of the process. A crack that runs through the full depth of the slab and shows vertical displacement means the slab has sheared — leveling won’t fix that, and replacement is the honest answer.
For mudjacking and leveling specifics, This Old House explains how to fix an unlevel concrete slab.
The Bottom Line
How to level a concrete patio really comes down to one judgment call: how far has the slab dropped, and is it still one solid piece? A slab that’s settled 1 to 4 inches on stable, well-drained soil is a textbook candidate for mudjacking or foam injection — a same-day, non-invasive fix that costs far less than pouring new concrete. A slab that’s only slightly out of level, or one that needs resurfacing anyway, is a perfect match for a self-leveling overlay, and it’s the one method you can genuinely tackle yourself.
Before you commit, fix the reason it sank. Extend the downspout, regrade the soil, repair the irrigation leak — because a leveled slab over the same bad drainage is just a countdown to doing it again. Get two or three quotes, ask each contractor which method they’d use and why, and don’t let anyone push full replacement until you’ve seen a reason the slab can’t be saved. If you’re still deciding whether to repair or pour fresh, our stamped concrete patio cost guide will help you price out the alternative.