How to Repair Cracks in a Concrete Driveway: A Step-by-Step Guide
A crack in a concrete driveway rarely fixes itself. Left alone, a hairline crack widens as rainwater seeps in, freezes, and thaws, prying the slab apart a little more each season. The good news is that most cracks are a straightforward weekend project, and knowing how to repair cracks in concrete driveway surfaces correctly can save you hundreds of dollars versus a full tear-out and repour.
This guide walks through the tools you need, the right filler for each crack size, and the steps to get a repair that lasts. Whether you’re dealing with a spiderweb of surface fissures or one deep, working crack, the method below covers it.
Why Concrete Driveway Cracks Form (and Which Ones Need Fixing)
Concrete is strong in compression but weak in tension, so it cracks as the ground beneath it moves. The most common causes on a residential driveway are:
- Freeze-thaw cycles: Water enters pores, freezes, expands roughly 9% in volume, and wedges cracks open.
- Soil settlement: Poorly compacted base or erosion under the slab lets one section sink.
- Tree roots: Surface roots lift and flex the slab over time.
- Heavy loads: Repeated weight from large trucks or RVs near the edges of the slab.
- Shrinkage: Concrete shrinks slightly as it cures, which is why control joints exist in the first place.
Not every crack needs the same treatment. Hairline cracks under 1/8 inch are mostly cosmetic but should still be sealed to keep water out. Cracks between 1/8 and 1/2 inch call for a flexible, sanded filler. Anything wider than 1/2 inch — or any crack where one side of the slab has sunk or heaved — may point to a structural problem that patching alone won’t solve. If the slab is still moving, repairing it is throwing money at a symptom; you’d be better off considering a replacement, which is where a look at brick paver driveway cost can help you compare options.
Tools and Materials You’ll Need
Most concrete crack repairs use the same core kit, whether the crack is thin or wide. Gather everything before you start so the filler doesn’t cure in the tube while you hunt for a tool.
Tools:
- Wire brush or stiff-bristle brush
- Hammer and cold chisel (to widen and key narrow cracks)
- Shop vacuum or leaf blower
- Pressure washer (optional but helpful)
- Caulk gun for cartridge fillers
- Margin trowel or putty knife
- Safety glasses, dust mask, and nitrile gloves
- Bucket and mixing paddle (for pourable or patching mixes)
Materials:
- Concrete crack filler or sealant — look for Quikrete Concrete Crack Sealant, Sika Sikaflex Self-Leveling Sealant, or Loctite PL Concrete Crack Sealant for narrow to medium cracks
- Sanded caulk or backer rod for wider gaps (foam backer rod, 3/8 to 1/2 inch)
- Vinyl concrete patcher — Quikrete Vinyl Concrete Patcher or Sakrete Concrete Patching Compound for wide or deep cracks
- Concrete resurfacer (optional, for matching surface texture)
- Acrylic concrete sealer for the final coat
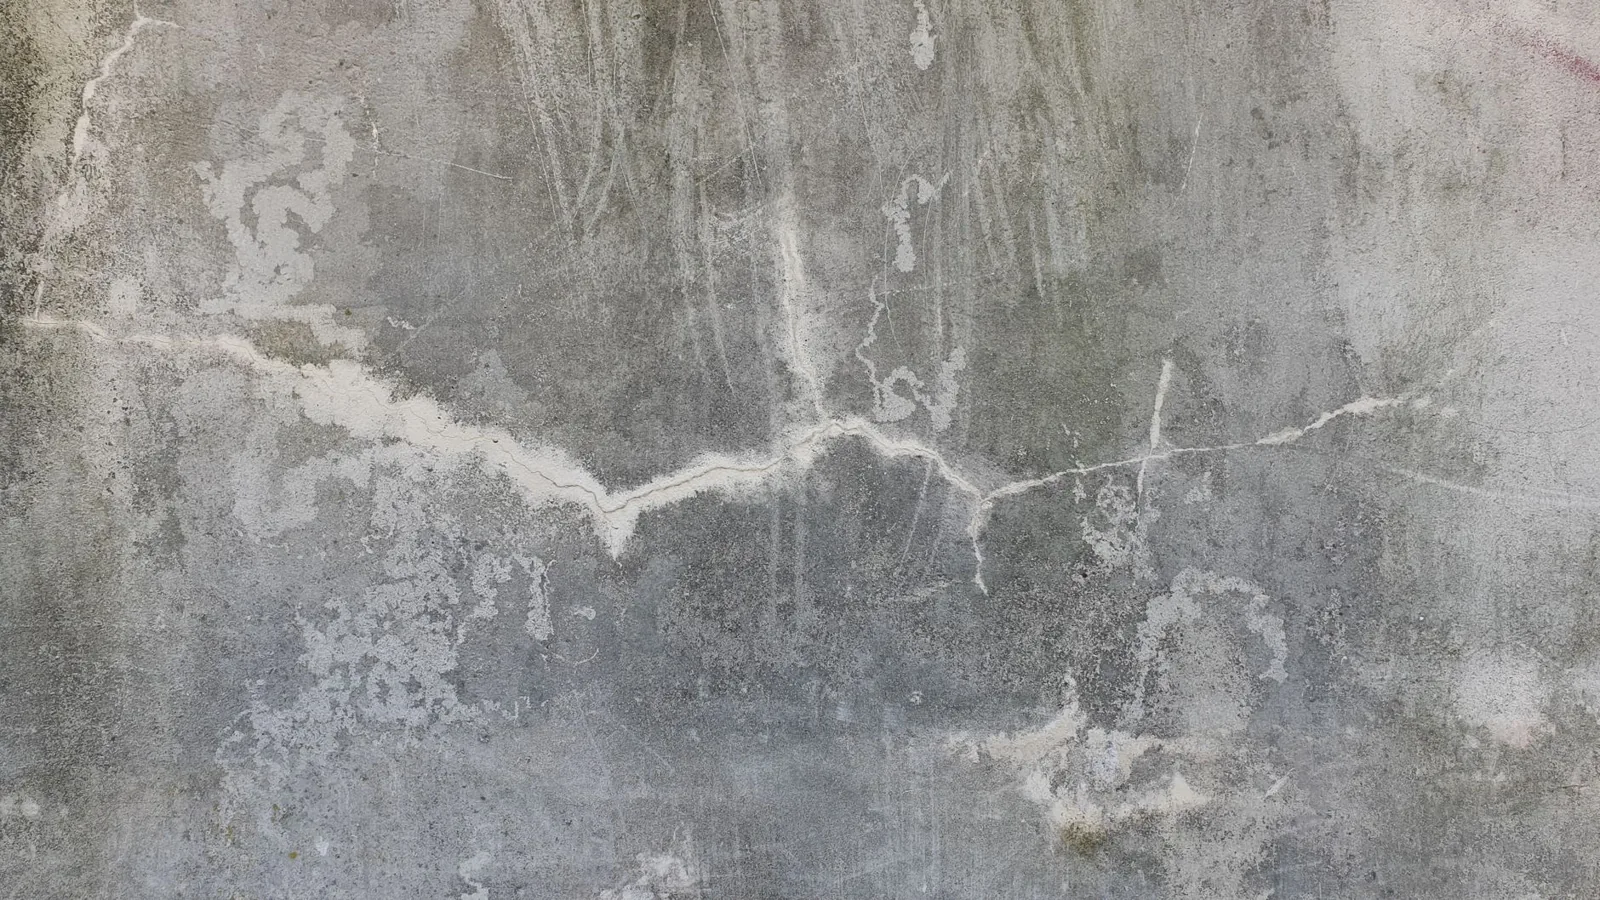
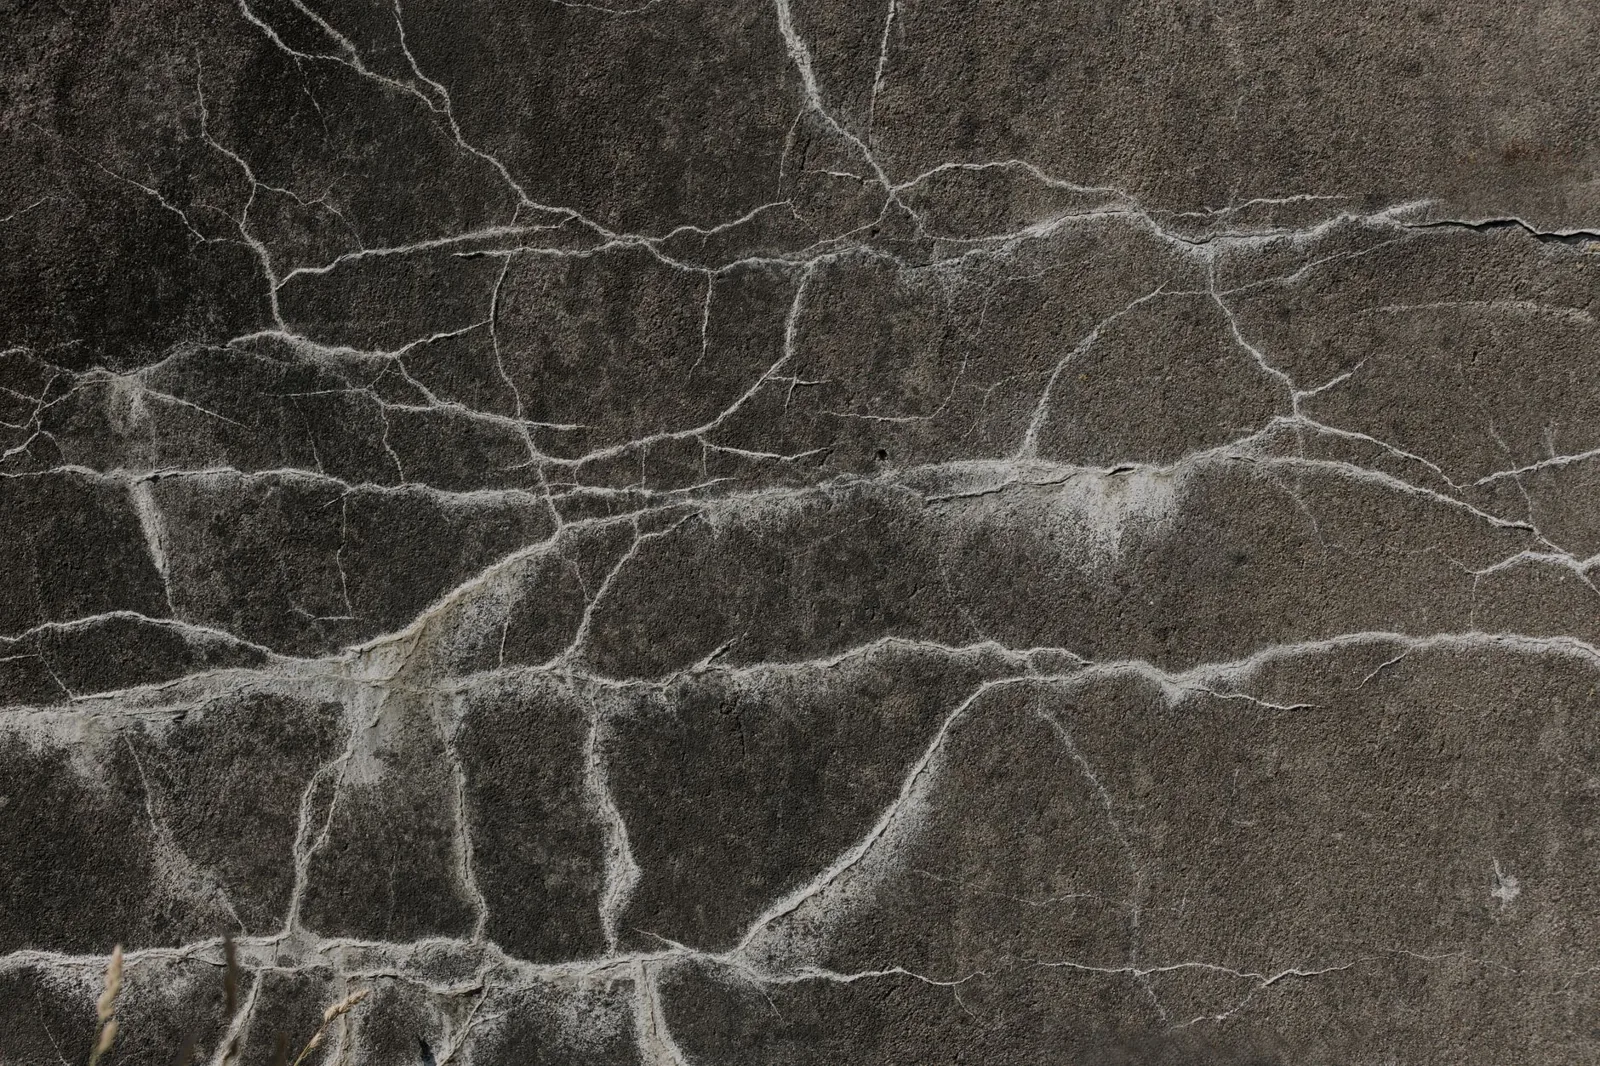
Photo by Krakograff Textures via Pexels
For hairline cracks, a liquid or self-leveling sealant is ideal because it flows into the narrowest gap. For wider cracks, a thicker, sanded product stays put and won’t sag out of a vertical or angled repair.
How to Repair Hairline Cracks in a Concrete Driveway
Hairline cracks (under 1/8 inch) are the easiest to fix and the most common. The goal is less about filling a void and more about sealing the surface so water can’t get in and expand.
- Clean the crack thoroughly. Scrub the crack and the surrounding inch or two with a wire brush to remove dirt, oil, and loose concrete. Blow out the debris with a shop vacuum or leaf blower. If the crack is stained with oil, degrease it first or the sealer won’t bond.
- Dry the surface. Filler won’t stick to wet concrete. Let the area dry completely, or dry it with a heat gun on a damp morning.
- Apply a liquid or pourable crack sealer. Run a thin, steady bead of a self-leveling sealant like Sikaflex Self-Leveling Sealant directly into the crack, slightly overfilling it so it settles flush as it levels.
- Smooth and feather the edges. Use a putty knife or a gloved finger to press the sealer into the crack and wipe away excess, leaving the repair slightly proud of the surface.
- Let it cure. Most hairline sealants skin over in an hour and reach full strength in 24 to 48 hours. Keep foot traffic off for a day and cars off for at least three days.
How to Repair Wider Cracks (1/4 Inch and Bigger)
When a crack is wide enough to see daylight through — roughly 1/4 inch or more — a thin liquid sealer will just drain into it and waste product. These cracks need a filler with body, plus a backer rod to control depth and keep the repair from sinking.
- Undercut the crack. Use a hammer and cold chisel to widen the crack slightly at the bottom, making an inverted “V.” This gives the patch material a mechanical key to grip, so it can’t pop loose under traffic.
- Clean and dry. Wire-brush and vacuum the crack the same way as above. For cracks with years of grit and weeds, a pressure washer does the job fast — just let the slab dry for a full day afterward.
- Install foam backer rod. Press a foam backer rod into the crack so it sits about 1/4 to 1/2 inch below the surface. This limits how much filler you use and lets the patch flex with the slab instead of cracking again.
- Fill with a sanded, polymer-modified patcher. Force Quikrete Vinyl Concrete Patcher or a sanded crack filler into the crack with a margin trowel, packing it in layers for anything deeper than 1/2 inch.
- Strike it smooth. Screed the surface with the trowel, then let it set until it’s stiff enough to brush. Lightly drag a stiff brush across the patch to match the surrounding texture.
- Cure it slowly. Mist the patch with water once or twice a day for the first two days, or cover it with plastic, to prevent the fresh patch from drying too fast and shrinking away from the edges.
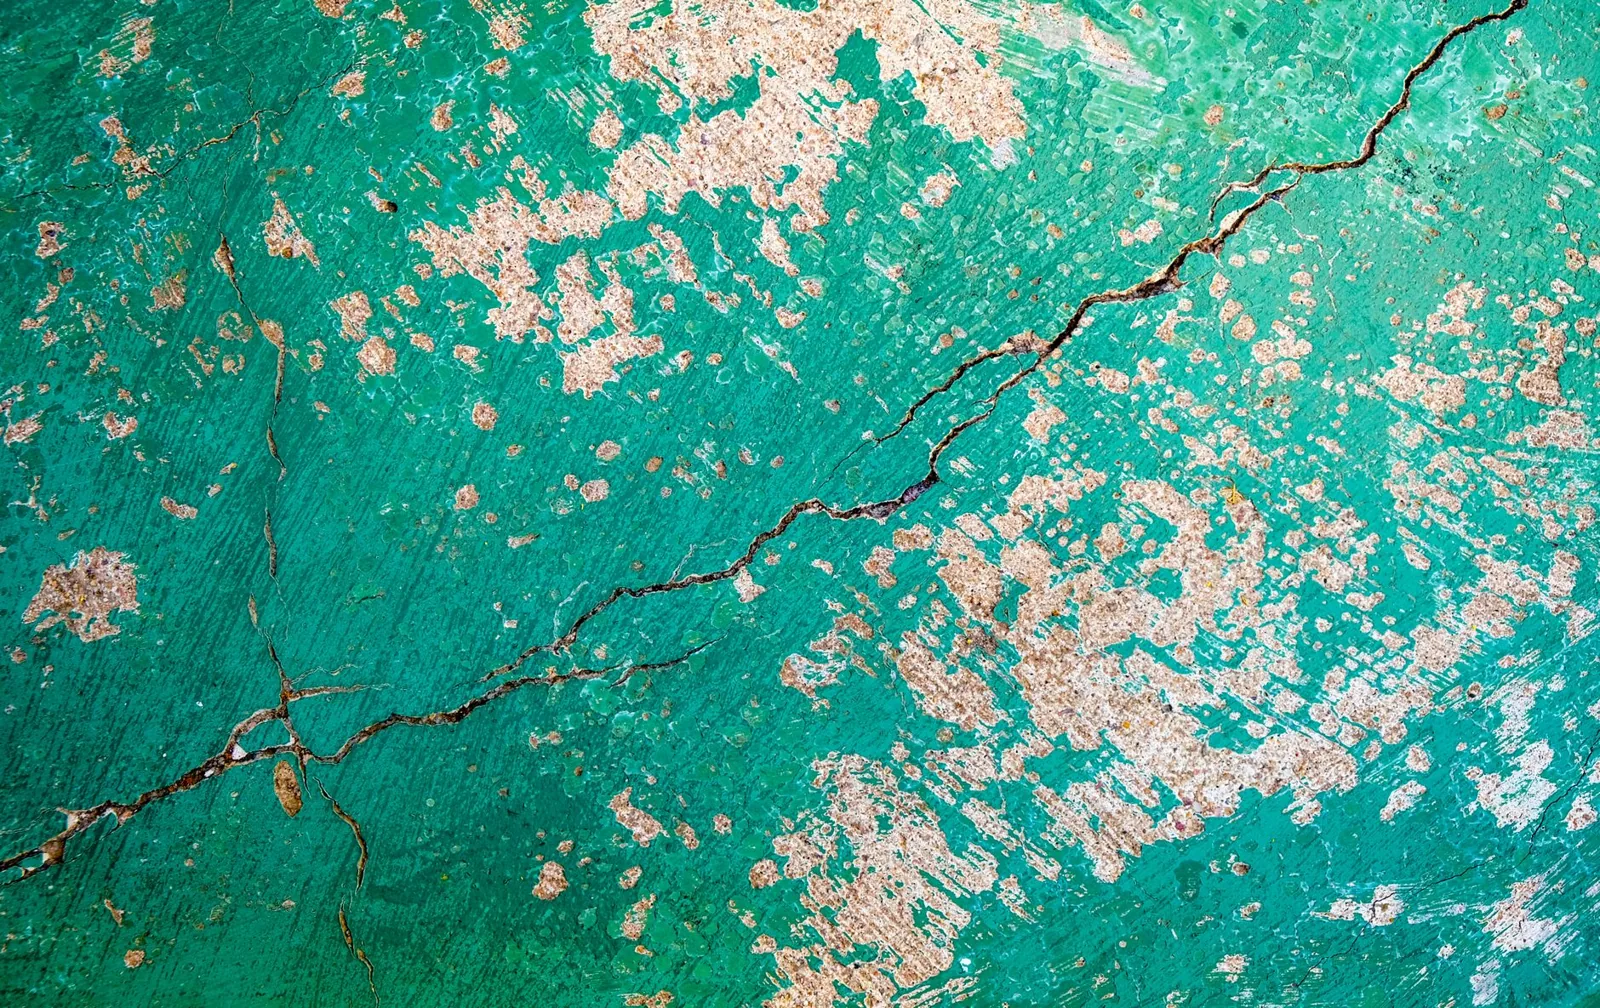
Photo by Magda Ehlers via Pexels
Deep Cracks and Spalling: When to Use Patching Compound
Cracks that run deep or are accompanied by spalling — where the surface flakes and pits away — need more than a crack filler. This is where a vinyl-reinforced patching compound earns its keep, because it sticks to old concrete and resists the freeze-thaw cycles that keep re-cracking ordinary mixes.
- For cracks deeper than 1 inch, undercut and clean as above, then fill in 1/2-inch lifts, packing each layer firmly before adding the next. Building up thin layers avoids the shrinkage and cracking you get from dumping a thick fill in one pass.
- For spalled edges, chisel away all loose material until you reach solid concrete, apply a bonding adhesive like Quikrete Concrete Bonding Adhesive, then trowel on the patcher and feather it into the surrounding surface.
- For slabs that have sunk or heaved, patching won’t level the surface. A polyurethane foam lift or mudjacking is the fix, and if the damage is extensive, compare a resurfacing job against the cost of asphalt driveway cost per square foot to see whether switching materials makes more sense long-term.
What a Crack Repair Costs
For a DIY repair, expect to spend roughly $15 to $60 on materials for a typical single crack: a tube of sealant runs $6 to $12, a 10-ounce tube of sanded filler $5 to $10, a 40-pound bag of vinyl patcher $15 to $25, and a gallon of acrylic sealer $20 to $30. Hiring a pro to repair and reseal a cracked driveway typically runs $200 to $600 depending on the crack count and your market. That’s a fraction of a full replacement, which is why fixing cracks early — before they spread — is the cheapest money you’ll spend on the driveway.
Sealing and Protecting Your Driveway After the Repair
A repair is only as durable as the slab around it. Once the patch has fully cured, seal the whole driveway to lock out moisture and stop new cracks from forming.
- Wait for the patch to cure completely. Give fresh patches 7 days before applying a sealer over them, or the trapped moisture will cloud the sealer.
- Clean the entire surface. Sweep, then pressure-wash the driveway and let it dry.
- Apply an acrylic or silane-siloxane sealer with a roller or garden sprayer, working in sections and back-rolling to avoid puddles.
- Re-seal every 2 to 4 years. Driveways in freeze-thaw climates benefit from the shorter end of that range.
The same maintenance logic applies to other concrete around the house. If you’re budgeting for more than a driveway fix, the figures in concrete walkway cost give a useful baseline for planning adjacent work.
Frequently Asked Questions
Can I repair a concrete driveway crack myself?
Yes. Cracks up to about 1/2 inch wide are well within reach of a homeowner with a caulk gun, a trowel, and a Saturday morning. The work is mostly cleaning and patience. Call a contractor if the crack is wider than 1/2 inch, if one side of the slab has sunk more than a 1/4 inch, or if new cracks keep appearing, which points to an underlying base problem.
How much does it cost to repair concrete driveway cracks?
A DIY repair of a few cracks costs $15 to $60 in materials. Professional crack repair and resealing typically runs $200 to $600. Costs climb when cracks are numerous or deep enough to require routing, foam backer rod, and full resurfacing.
What is the best filler for concrete driveway cracks?
For hairline cracks, a self-leveling polyurethane sealant such as Sikaflex or Quikrete Concrete Crack Sealant works best. For cracks 1/4 inch and wider, use a sanded, polymer-modified patcher like Quikrete Vinyl Concrete Patcher paired with foam backer rod. Match the product to the crack width, not the other way around.
How long does a concrete crack repair take to cure?
Most sealants skin over within an hour, but wait 24 to 48 hours before light foot traffic and at least 3 to 7 days before driving over the repair. Full strength and full cure can take up to 28 days for deeper patches, and you should hold off on sealing until the patch is fully cured.
Will the repaired crack match the rest of my driveway?
It won’t disappear entirely. Fresh patching material is almost always a slightly different shade than weathered concrete, especially in the first few months. The color difference fades as the patch ages and weathers, and a fresh coat of sealer over the whole slab helps blend the repair into the surface.
The Bottom Line
Knowing how to repair cracks in concrete driveway surfaces is one of the highest-value skills a homeowner can pick up. The work is unglamorous, the materials are cheap, and the payoff is a driveway that survives another decade of freeze-thaw cycles instead of degrading into a $5,000-plus replacement. The key is matching the filler to the crack, cleaning and drying the surface properly, and sealing the whole slab when you’re done.
Act sooner rather than later. A hairline crack costs a $10 tube of sealant to fix this month; the same crack, ignored for a few winters, becomes a wide, working gap that needs backer rod, patching compound, and maybe a contractor. For more detail on the underlying products and techniques, the repair guides at Family Handyman and This Old House are excellent references. When you’re ready to tackle the rest of your outdoor hardscaping, start with our breakdown of brick paver driveway cost to plan your next project.