Privacy Screen for Backyard: How to Choose, Build, and Install One
A privacy screen for backyard spaces is one of the fastest, cheapest ways to turn a wide-open yard into a room you actually want to spend time in. It blocks a neighbor’s second-story window, cuts a cold crosswind, and hides the trash bins or the air-conditioning unit in a single afternoon. Most freestanding screens don’t require a permit, and you don’t have to tear out an existing fence to install one.
The catch is that “privacy screen” covers a lot of ground. Pressure-treated slats, powder-coated steel panels, ready-made cedar lattices, and fast-growing hedge plants all get sold under the same label. This guide sorts them out, with real cost ranges and step-by-step install directions, so you buy the right one the first time.
Why a Privacy Screen for Backyard Spaces Is Worth It
Most homeowners start a screen project for one of three reasons: a neighbor’s window that looks straight into the patio, a busy street or alley, or an ugly view they’d rather not stare at over coffee. A well-placed screen fixes all three without the cost or commitment of a full fence.
The benefits go beyond hiding things:
- It blocks sight lines, not light or air. Unlike a solid wall, a slatted or lattice screen at 50–70% density stops direct eye contact while still letting breeze and daylight through. Your patio stays bright and cool instead of turning into a dark box.
- It calms wind. A screen with some density can knock a steady crosswind down to a comfortable level, which is why restaurant patios lean on them so heavily. The same trick works in a backyard.
- It hides utilities and clutter. Air-conditioning condensers, propane tanks, garbage bins, and garden hoses all disappear behind a three-panel screen.
- It defines a “room” outside. A screen marks where the seating area begins and ends, which makes a yard feel intentional rather than like leftover space.
- It costs less than a fence. A short freestanding screen runs a fraction of what a full perimeter fence does, which makes it the right fix when you only need privacy on one side.
Popular Materials for Backyard Privacy Screens
The material you pick drives the look, the price, and how much upkeep you sign up for. These are the four you’ll actually run into at a lumberyard or home center.
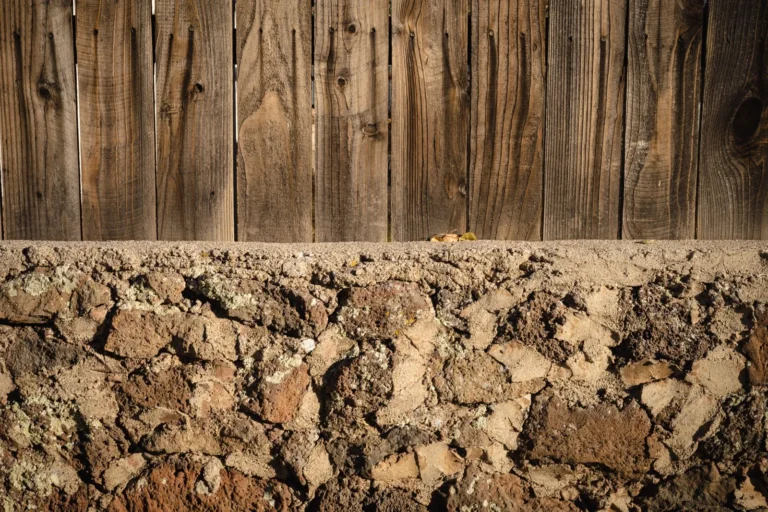
Wood is the default for good reason. Pressure-treated pine is cheap and easy to cut, while cedar and redwood resist rot and insects without chemical treatment. Wood warms up any yard and takes stain or paint well. The trade-off is maintenance: you’ll restain or reseal every two to three years, and cheap pine can cup or split if it isn’t braced.
Vinyl (PVC) panels have taken off because they need almost no care—just a rinse with a hose once or twice a year. They resist rot, insects, and fading, and most carry 25-year or lifetime warranties. The downside is cost and a look that reads as “manufactured” to some people.
Metal screens—usually powder-coated aluminum or steel louvers—are the choice for modern homes. Laser-cut steel panels and horizontal aluminum slats give a clean, architectural finish and stand up to wind better than almost anything else. Expect to pay more, and expect to secure them to solid posts.
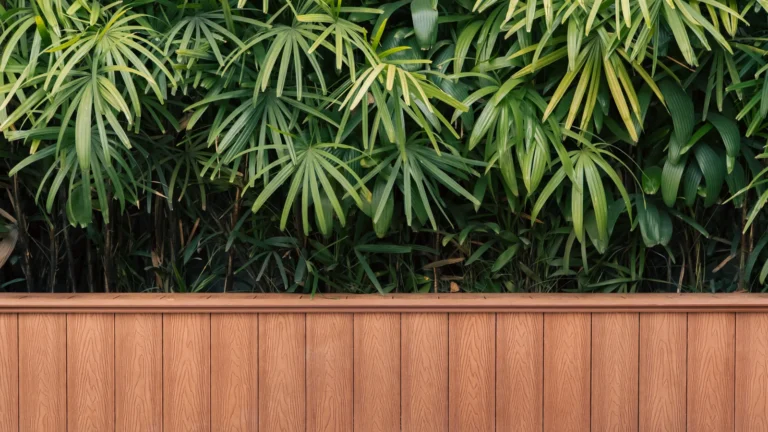
Living screens—a row of emerald arborvitae, clumping bamboo, or a planter wall of ornamental grasses—deliver the softest, most layered privacy. They take two or three seasons to fill in and need water, sun, and occasional pruning, but nothing else matches them for looks.
| Feature | Wood | Vinyl | Metal | Living |
|---|---|---|---|---|
| Upfront cost (per linear ft.) | $15–$40 | $25–$55 | $30–$80 | $10–$30 (plants) |
| Typical lifespan | 10–20 years | 25–30 years | 20–40 years | Indefinite, with care |
| Maintenance | Restain every 2–3 years | Occasional wash | Minimal | Water, prune, feed |
| Install difficulty | Easy–moderate | Easy | Moderate | Easy |
| Best for | Budget, DIY, natural look | Low upkeep | Modern look, high wind | Soft, layered privacy |
Photo by Curtis Adams via Pexels
What a Backyard Privacy Screen Costs
Most freestanding screens land between $300 and $1,200 for a finished six- to eight-foot-tall panel set, depending on material and length. Here’s how that breaks down.
Wood screens are the budget winner. Pressure-treated pine runs roughly $15 to $25 per linear foot in materials, while cedar and redwood push that to $30 to $40 per linear foot. A typical 12-foot screen, then, costs $180 to $480 in lumber plus about $50 to $100 for concrete, fasteners, and post hardware.
Vinyl panels run $25 to $55 per linear foot, with a 12-foot screen landing around $300 to $660 in materials. Metal louvers and laser-cut steel are the top of the range at $30 to $80 per linear foot, or $360 to $960 for the same run.
Labor adds $50 to $90 per hour if you hire out. A straightforward two-post, one-panel screen usually takes a pro four to six hours, so expect $200 to $540 in labor on top of materials. If you’re weighing the screen against a full fence instead, a privacy fence runs $15 to $45 per linear foot all-in—see our fence cost per linear foot breakdown for the detailed math.
Permits are rarely required for a freestanding screen under six or seven feet, but always check your local code before digging. Call 811 first—underground utility lines run right where you’re about to set posts.
DIY vs. Hiring a Pro
A basic wood or vinyl screen is squarely in DIY territory if you can dig a post hole and run a level. You’ll save the labor cost, and the whole job usually wraps in a weekend.
Go the DIY route when the screen is short (under eight feet), the ground is easy to dig, and you’re comfortable setting posts in concrete. A cordless drill, a post-hole digger or auger, a level, and a circular saw cover most builds. You can find full step-by-step framing and post-setting instructions in our guide on how to build a wooden fence, which uses the same techniques.
Hire a pro instead if you want a tall screen in a windy area, if the soil is rocky or heavy clay, or if you’re mounting metal panels that need precise alignment. Contractors also make sense when the screen has to tie into an existing fence or deck for structural support. A handyman or fence company will quote the job flat, usually in one visit.
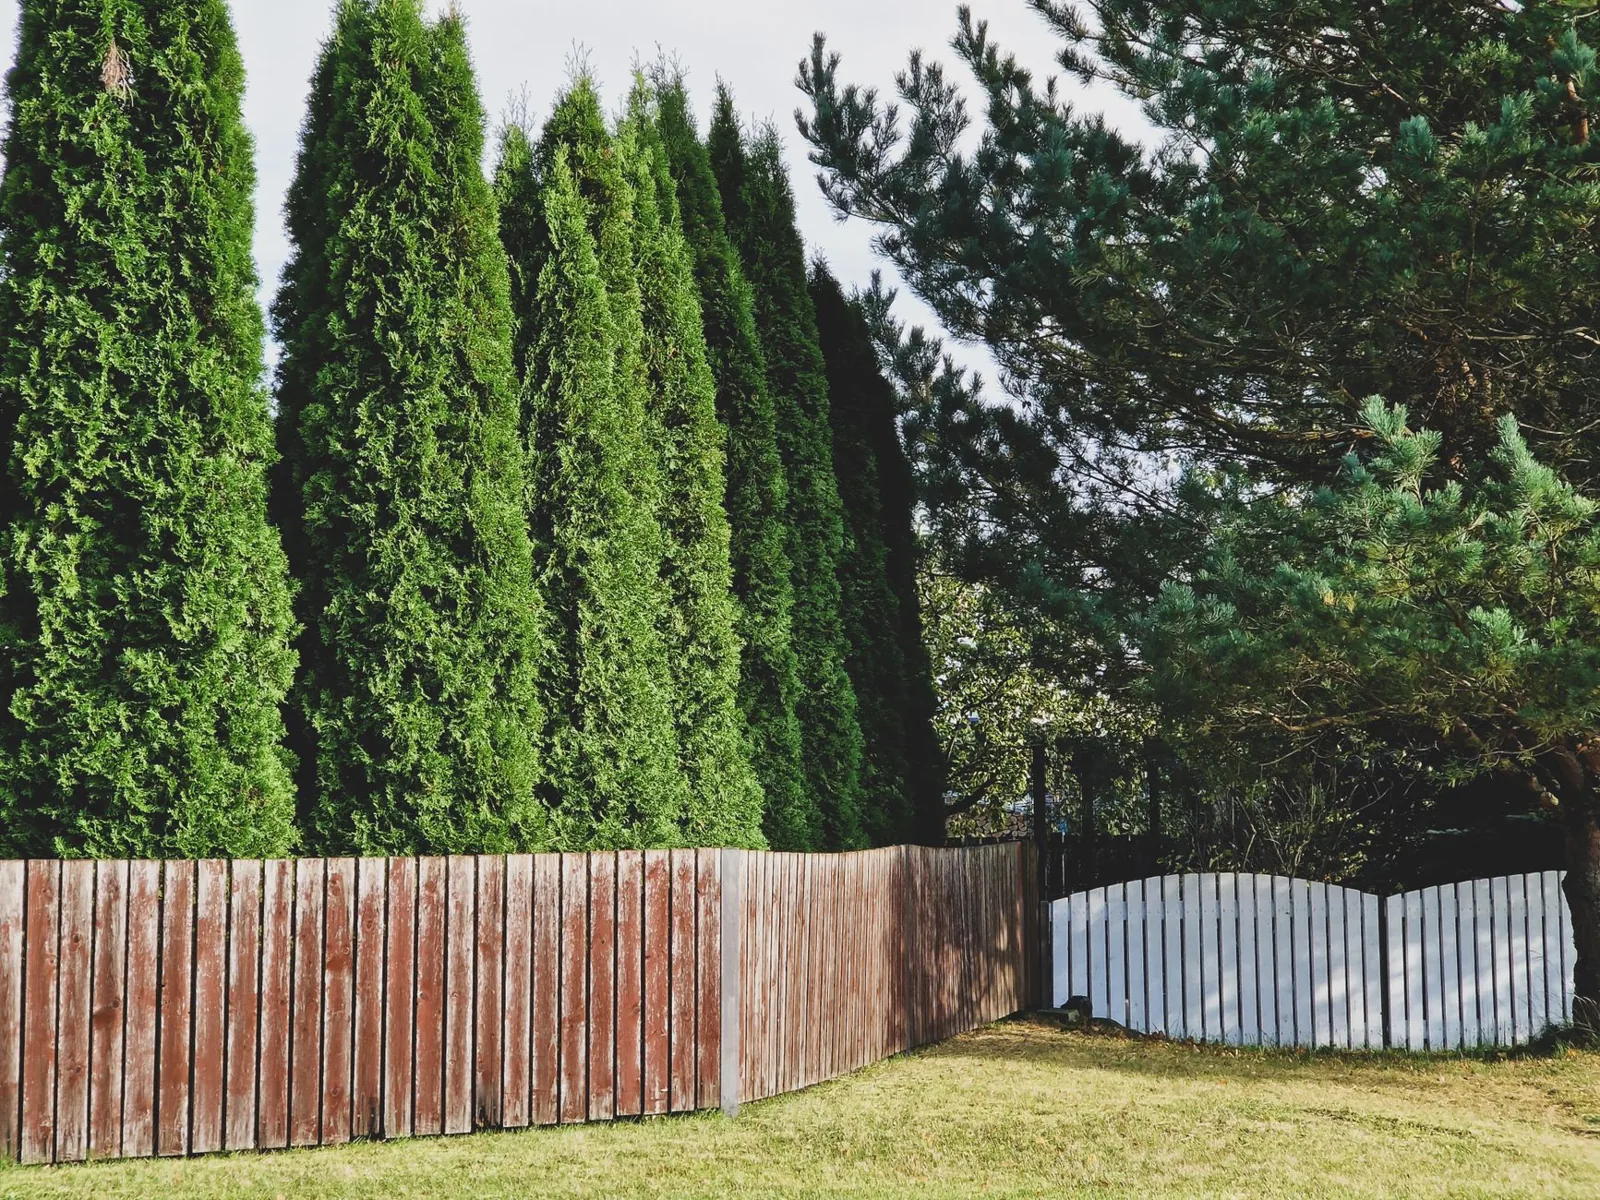
Photo by Hanno via Pexels
How to Install a Privacy Screen for Backyard
A freestanding screen is really three parts: posts in the ground, rails between them, and slats or panels on the rails. Here’s the sequence for a basic wood screen.
- Lay out the run. Mark where each post goes, spacing them six to eight feet apart. A 12-foot screen with three posts (two ends, one center) is the sweet spot for stability.
- Dig the holes. Go to one-third the height of the post—so a nine-foot post gets a three-foot hole. Rent a two-person auger for more than two holes; it cuts the work to an hour.
- Set the posts. Drop a few inches of gravel in the bottom for drainage, stand the post, plumb it with a level, and brace it with scrap lumber. Pour fast-setting concrete around it and let it cure overnight.
- Cut and attach the rails. Run two horizontal rails—one near the top, one near the bottom—between the posts. Use exterior-rated screws or galvanized hangers.
- Hang the slats or panels. Space horizontal slats with a scrap block as a jig so every gap is identical. Aim for 50–70% coverage: enough to block sight lines, open enough for wind and light.
- Finish it. Sand any rough edges, then stain or seal wood before winter. Set a string line across the top to confirm everything is level before you call it done.
For planter-style screens, skip the concrete and build a raised cedar planter box instead, then fill it with bamboo or grasses. You get the privacy of a screen with the softness of a hedge, and you can move it if you ever change your mind.
Getting the Height and Placement Right
Height is where most screens go wrong. A six-foot screen hides a seated neighbor at eye level, but if their window is eight feet up, six feet of screen won’t cut it—you’ll need seven or eight feet, or you’ll angle the slats to redirect sight lines upward.
Placement matters just as much. Put the screen where it actually interrupts the view, not simply at the property line. Walk the yard at the height of a typical adult and squat down to your sitting height on the patio; wherever your neighbor’s window disappears is where the screen belongs. Keep a few inches of clearance off the ground so water drains and air moves, which also keeps the bottom of a wood screen from rotting.
Check your local height limits before you build. Many municipalities cap fences and screens at six feet in the front setback and eight in the rear, and some HOA rules are stricter than city code. Building past the limit is a common—and expensive—do-over.
Maintenance and Longevity
How long a screen lasts depends almost entirely on material and the first six inches above the ground.
- Wood: Restain or reseal every two to three years, and keep soil and mulch off the bottom rails. Cedar and redwood can hit 20 years with that routine; untreated pine lasts about half as long.
- Vinyl: Rinse with soapy water once a year and check the post caps are seated. Avoid pressure-washing at close range, which can etch the surface.
- Metal: Wash with mild soap and touch up any scratches with matching paint to stop corrosion at the bare spot.
- Living: Water deeply during the first two seasons so roots establish, prune once a year to keep the screen dense, and feed in spring.
Whatever the material, re-tighten fasteners each spring. Temperature swings work screws loose over a winter, and a loose screen is the one that fails in the first good storm.
Frequently Asked Questions
Do I need a permit for a backyard privacy screen?
Usually not for a freestanding screen under six or seven feet, but height limits and HOA rules vary. Check with your local building department before you dig, and always call 811 to have underground lines marked.
What is the cheapest way to build a privacy screen for a backyard?
Pressure-treated pine slats on three concrete-set posts is the budget route, typically $15 to $25 per linear foot in materials. Staggering the boards or planting fast-growing vines against a basic frame gets you coverage for even less.
How tall should a backyard privacy screen be?
Six feet handles most seated sight lines; seven to eight feet is better when the neighbor’s window sits above ground level. Match the height to the actual view you’re blocking rather than to the property line.
Which material lasts the longest?
Powder-coated aluminum and vinyl both go 25 years or more with almost no maintenance. Cedar and redwood can reach 20 years with regular sealing. Untreated pine is the shortest-lived at around 10 years.
Is a privacy screen better than a full fence?
It depends on the job. A screen is cheaper and faster when you only need to block one sight line or one side of the yard. A full fence wins when you need perimeter privacy, security, or pet containment on every side—see our privacy fence ideas for the full-range options.
For build plans and material choices, Family Handyman offers DIY privacy screen projects.
The Bottom Line
A privacy screen for backyard living is the most useful improvement you can make for the money. For $300 to $1,200 and a weekend of work, you get a quieter, more private, better-looking outdoor room—without the cost or permanence of a full fence.
Pick the material that matches how much upkeep you’ll actually do. Love weekend projects? Build a cedar slat screen and stain it every few years. Want to set it and forget it? Go vinyl or powder-coated aluminum. If you want softness and can wait a couple of seasons, plant a living screen and let it do the growing for you.
Match the height to the view you’re hiding, set your posts deep and level, and keep the bottom off the dirt. Do those three things and the screen will outlast whatever motivated you to build it. If a full perimeter fence is the real end goal instead, start with our fence cost per linear foot guide to budget the whole job before you break ground.