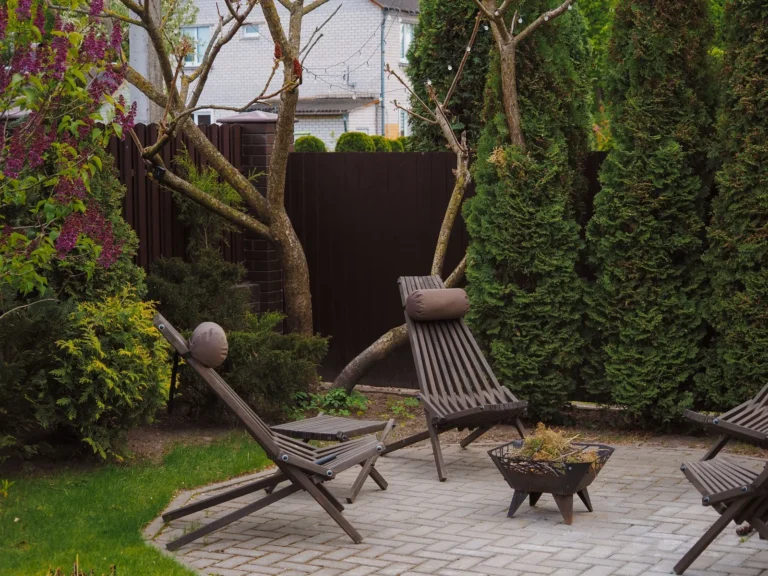

Trellis Privacy Screen Ideas to Block Sightlines Without a Solid Fence
The best trellis privacy screen ideas do something a solid fence can’t: they hide your yard from neighbors while still letting light and air move through. A six-foot cedar board fence blocks the view, but it also turns a small patio into a box. A trellis softens that line, gives climbing plants something to hold onto, and often costs less than half what a full fence runs per linear foot.
That’s why trellises show up on so many privacy fence ideas lists. They’re the middle ground between “wide open to the street” and “fortress.” Below are the trellis privacy screen ideas worth your time, with real prices and the plants that make them work.
Why a Trellis Beats a Solid Fence
A trellis screen is a lattice or slatted panel that blocks a sightline without sealing it off. The gaps are the point. They cut direct views from a neighbor’s window or a sidewalk while keeping airflow through a hot corner of the yard.
Three situations where a trellis wins over solid fencing:
- You only need to hide one view. A single 8-foot panel aimed at a second-story window does the job for $80 instead of $1,500 for a fence along the whole property line.
- Your yard already has a low fence or a deck rail. A trellis mounted on top extends the height without a full rebuild.
- You want a green wall, not a wood wall. Climbing plants need a trellis to grip. A solid fence gives them nothing.
There’s a real structural advantage too. Solid fences catch wind like a sail and get pushed over in storms. An open trellis lets wind pass through, so it survives gusts that would snap a board fence.
Trellis Privacy Screen Ideas for Every Yard
Most trellis privacy screen ideas fit into four families: attached panels, freestanding screens, pergola-style screens, and living fences. Here’s how each one works in practice.
Attached Lattice Panels
The classic. You screw a 4-foot-by-8-foot lattice panel to an existing fence or between two posts. The panels come in cedar, pressure-treated pine, and white or tan vinyl. A cedar lattice panel runs $30 to $60 at a home center; vinyl is $25 to $45.
The trick that makes it work is layering. One flat lattice panel is mostly see-through. Two panels mounted a few inches apart, with the lattice diamonds offset, cuts the view sharply while keeping the airy look. That offset-lattice trick is the single cheapest upgrade in this whole list.

Photo by AS Photography via Pexels
Freestanding Trellis Screens
A freestanding trellis is a panel with legs, or a frame you set in the ground, that stands on its own without a fence to attach to. These are the go-to for a patio, a hot tub, or an AC unit that faces a neighbor’s yard.
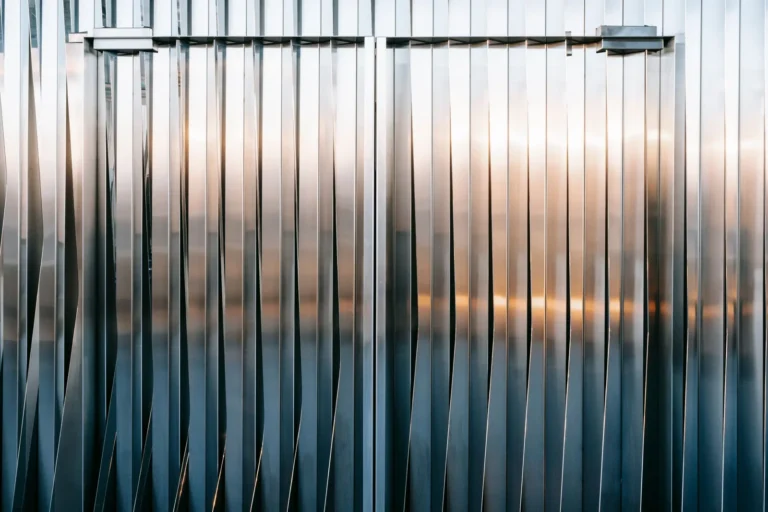
You can buy ready-made freestanding screens in cedar, redwood, or powder-coated steel. A basic 6-foot cedar screen starts around $100; decorative metal screens with a leaf or geometric cutout run $150 to $400. Steel looks sharpest but heats up in direct sun, so cedar is the safer pick next to seating.
Pergola-Style Privacy Screens
If you’re already building a pergola or a covered patio, add slatted screens to the sides instead of leaving them open. Horizontal slats tilted at 45 degrees block the view from ground level but stay open from above, which keeps the space from feeling closed in. This is the same logic as a horizontal fence, just framed as a screen rather than a boundary.
Living Fence Screens
Here the trellis is a scaffold for plants that become the real wall. You set posts every 6 to 8 feet, run trellis or wire between them, and plant fast climbers at the base. In two or three growing seasons you have a green screen that costs a fraction of a privacy hedge and fills in far faster.
DIY Trellis Privacy Screens You Can Build in a Weekend
Building your own trellis screen is a straightforward project if you own a drill and a circular saw. Here’s a plan that holds up.
What you need for a 6-foot-by-6-foot panel:
- 2 pressure-treated 4×4 posts, 10 feet long (two feet go in the ground)
- 6 cedar 2×2 rails, or a cedar lattice panel
- Stainless steel or coated deck screws
- Quick-set concrete for the post holes
- Exterior stain or sealer
The build:
- Dig two post holes 24 to 30 inches deep, below your frost line. In most of the US that means 30 inches or deeper in northern states.
- Set the posts in quick-set concrete and let them cure for 24 hours.
- Screw the 2×2 rails horizontally across the posts, 6 to 8 inches apart, for a slatted look. For full lattice, frame the panel and screw a lattice sheet into the frame.
- Stain the whole thing to match your house trim.
If you want the step-by-step framing details, this guide on how to build a wooden fence covers posts, footings, and rail spacing in depth, and the same principles apply.
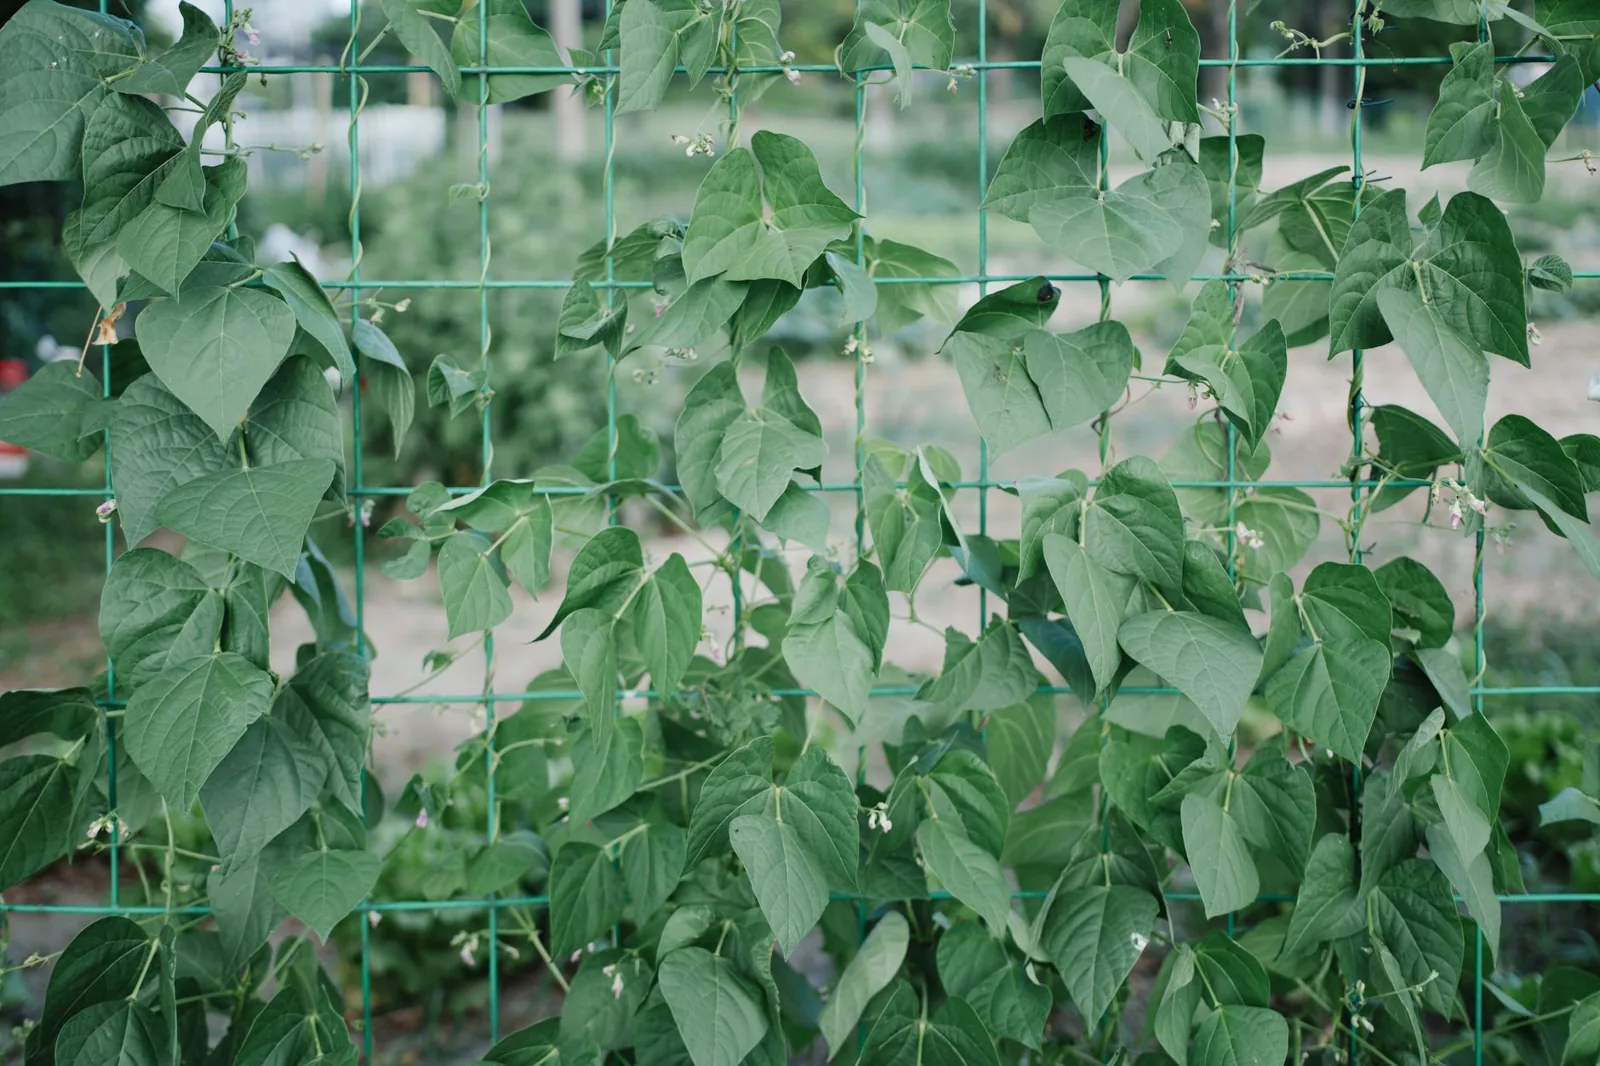
Photo by JUNLIN ZOU via Pexels
How Much a Trellis Privacy Screen Costs
Prices below are what you’ll pay at a big-box store or garden center in 2025, per panel or per project. Labor is the wildcard: a handyman charges $40 to $80 an hour, and a single freestanding screen usually takes two to three hours to set properly.
| Option | Material cost | Installed cost | Best for |
|---|---|---|---|
| Vinyl lattice panel (4×8) | $25–$45 | $60–$120 | Budget, low maintenance |
| Cedar lattice panel (4×8) | $30–$60 | $80–$150 | Natural look, stainable |
| Freestanding cedar screen (6 ft) | $100–$200 | $250–$500 | Patios, hot tubs, AC units |
| Decorative metal screen | $150–$400 | $300–$700 | Modern homes, no plants needed |
| DIY slatted panel (6×6) | $80–$150 | $150–$350 | Custom sizing, weekend build |
Cedar and redwood cost more up front but resist rot and insects without chemical treatment, which matters when the screen is holding plants that keep it damp. Pressure-treated pine is cheaper but needs restaining every two or three years. Vinyl never needs paint and cleans with a hose, but it can crack in hard freezes.
Best Climbing Plants for a Trellis Screen
A bare trellis blocks maybe 40% of the view. A trellis covered in plants blocks nearly all of it, and it looks better doing it. Pick for your climate and how fast you want coverage.
- Fastest coverage: Annual vines like morning glory and scarlet runner bean cover a panel in a single summer, but they die back in fall. Good if you want privacy now and are willing to replant.
- Evergreen coverage (zones 7–10): Star jasmine (Trachelospermum jasminoides) and evergreen clematis keep their leaves year-round, so the screen works in winter too.
- Cold-hardy evergreens: Climbing hydrangea and English ivy hold leaves through northern winters, though ivy needs controlling or it will climb the house too.
- Flowering climbers: Clematis and climbing roses add color from spring through fall. Clematis is the easier of the two; roses need more sun and more pruning.
- Native options: Trumpet honeysuckle (Lonicera sempervirens) and passionflower attract hummingbirds and butterflies without the invasive spread of trumpet vine or Japanese honeysuckle.
One caution: skip aggressive spreaders like wisteria and trumpet vine on a screen next to your house. Their tendrils get into siding, gutters, and roof edges and are a pain to remove. The Better Homes & Gardens guide to vines is a solid reference for matching a vine to your zone.
What to Look For When Buying a Trellis
Not every panel is built to hold weight. A mature vine can weigh hundreds of pounds, and a flimsy panel will sag or pull its screws loose.
- Frame first. A panel with a solid wood frame around the lattice will outlast an unframed sheet. Look for 1.5-inch or thicker framing.
- Check the gap size. Lattice openings smaller than 2 inches block more view and give plants more grip points, but hold more snow and ice in cold climates.
- Match hardware to wood. Cedar is naturally corrosive to plain steel, so use stainless or coated screws, never bare galvanized nails.
- Mind the height rules. Most municipalities allow a freestanding screen up to 6 feet in a rear yard without a permit, but front-yard and corner-lot rules are stricter. Check local code and any HOA covenants before you dig. This Old House’s fence planning guide walks through the same permitting questions in detail.
If the screen sits against a property line, confirm exactly where your boundary falls. Setting a post a foot onto your neighbor’s side is a common and expensive mistake.
Frequently Asked Questions
Do trellis privacy screens actually block the view?
Yes, but not by themselves. A bare lattice panel cuts maybe 40 to 50% of the sightline. Offset two panels, tilt the slats, or grow a dense vine on it and you can block 90% or more. For total coverage at close range, combine the trellis with a privacy screen for backyard that uses solid or near-solid slats.
How tall can a trellis privacy screen be?
Most places allow a freestanding screen up to 6 feet in the rear yard without a permit. Heights above that, or any screen in a front yard or corner lot, usually trigger a permit and setback rules. Always check your local code before building.
Can I put a trellis screen on a concrete patio?
Yes. You can’t dig post holes in concrete, but you can buy freestanding screens with weighted steel bases, or bolt the posts to surface-mounted post anchors drilled into the slab. The anchors run $15 to $30 apiece and hold a 6-foot screen fine in moderate wind.
What’s the cheapest trellis privacy screen idea?
A single 4-by-8 vinyl lattice panel attached between two existing posts runs $25 to $45 in materials, and you can hang it with a drill in under an hour. The offset double-panel trick costs double that and still comes in under $100.
Do I need a permit for a trellis screen?
Usually not for a freestanding rear-yard screen under 6 feet, but rules vary by city and HOA. When in doubt, call your local building department before you buy materials rather than after you’ve dug the holes.
The Bottom Line
A trellis privacy screen is the cheapest, fastest way to hide a specific sightline without sealing your yard into a box. Start with one freestanding panel aimed at the view that bothers you most, spend $60 to $400 on materials, and plant a fast climber at its base. You’ll block most of the view the day you install it and nearly all of it within a season or two.
Match the material to your climate, use hardware that won’t rust against cedar, and check your local height rules before you dig. Do that and a trellis will do the job of a $2,000 fence for a fraction of the price—and look better while it works.